Here are 12 FAQ to help you make macarons:
 1) Which almond flour?
I use Phoon Huat's superfine almond flour. PH sells three types of almond flour. Only the one labeled "SUPERFINE" is good for macarons.
Almond flour that's not "macaron grade" is too coarse. Can you grind it to make it superfine? If you have a super duper grinder that's leagues ahead of what most people have at home, yes.
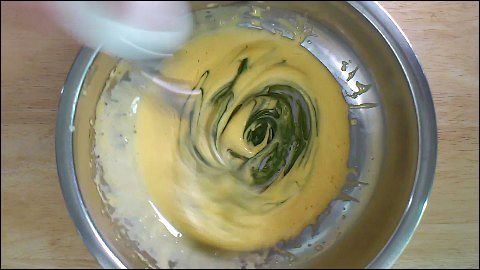
2) How to make French meringue for macarons?
I whisk fresh egg white on speed #3 to start with (#24 is the fastest on my electric whisk). I then drop to #1 after sugar is added. Finally, I whisk by hand to finish off. The meringue, when it's done,
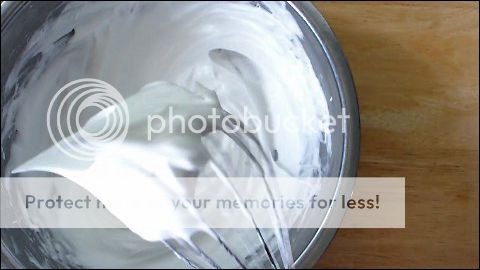 is at stiff peak stage, i.e. the peak is straight, not hooked. It's smooth and glossy, not grainy and matt.
Whisking slowly helps make the meringue stable. A stiff, stable meringue is crucial to everything that's important in macarons: the foot, the height, the sleek crust, the inside. If you don't want flat, footless, rough macrons with a hollow inside, you must get the meringue right. Remember: whisk SLOWLY.
3) How to hit the "macaronage" sweet spot?
Mixing the meringue with almond flour and icing sugar correctly is very important. If the batter is under- or overmixed, the macarons will be flat, footless, rough, or hollow inside.
How to tell when the mixing, the so-called macaronage, hits the sweet spot? By testing.
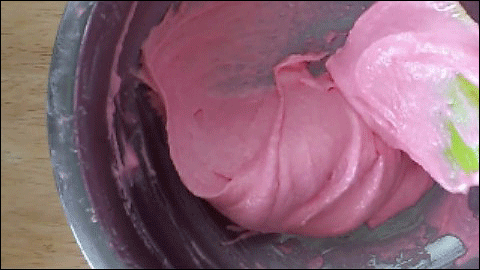 When the batter's texture is smooth, I stop folding every 10-15 folds to drop some batter from about 25 cm high. When the batter doesn't move at all after landing, it's not ready. When it moves ever so slightly, it's almost there. From this point, I stop every 3-5 folds to observe the batter. When it oozes a bit after I stop folding, it's done.
4) Why do macarons have feet?
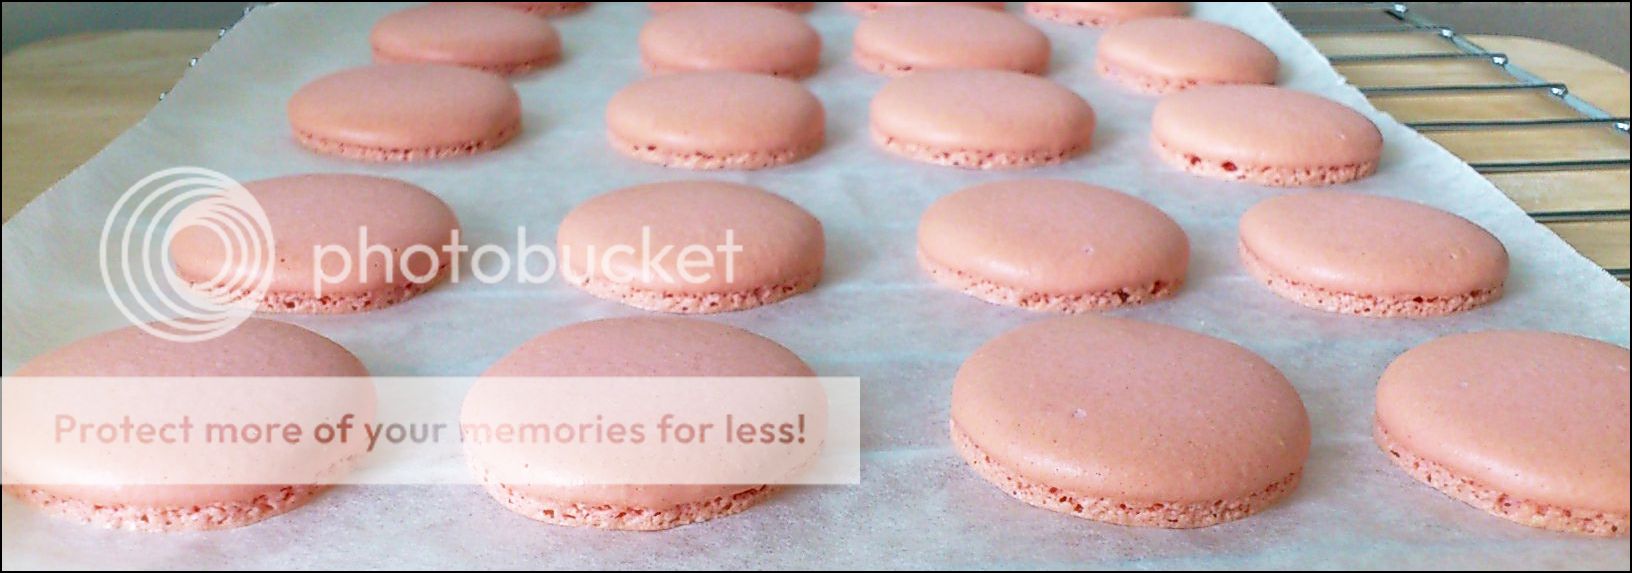
Before the batter is baked, it needs to rest till the surface isn't tacky. The dry surface is crucial to the macarons forming feet. Why? Because it's a shield, which stops steam formed during baking from rising. Since the steam can't go up, it looks for an alternative exit. Where's that? Between the batter and baking tray. That's why macarons have frilly bottoms, aka feet.
5) Why don't your macarons have feet?
Cracked macarons are footless (or have poorly formed feet). Why? Because most of the steam escapes through the cracks, not the space between the batter and the baking tray. Refer to Q4.
6) Why do your macarons crack?
If the oven temperature is too high, or there's too much egg white in the batter, macarons crack because
 too much steam is created. Air bubbles that are too big could lead to cracks too.
 Batter that isn't dry enough when it's baked could also result in cracks. Macaron batter doesn't dry well if it has too much egg white, it is overmixed, or the resting time is too short. Poking the batter when it's dry or half-dry – maybe to remove air bubbles – creates wet spots. Touching the batter before it's dry – to check if it is – creates wet spots too.
7) Why are your macarons hollow inside?
When the meringue is overwhisked or whisked too quickly, it's grainy; or it turns grainy whilst the batter is waiting to be baked. Grainy meringue can't rise well, so the batter doesn't rise to fill the big air pockets created by heat. That results in a hollow under the crust.
 9) Why do your macarons blister?
Because big bubbles in the batter expand when heated.
8) Why are the results from your single batch of batter uneven?
Only evenly mixed batter yields even results. When the batter is uneven, some macarons have feet and some don't; some are hollow inside and some aren't.
10) Why are your macarons rough?
Because the almond flour is coarse, the meringue is grainy, or the batter is undermixed.
11) Why do your macarons stick to the parchment paper?
Because they are underbaked, removed from the paper whilst still warm, or piped on the batter used to glue the parchment paper to the baking tray.
12) How to make macarons less sweet?
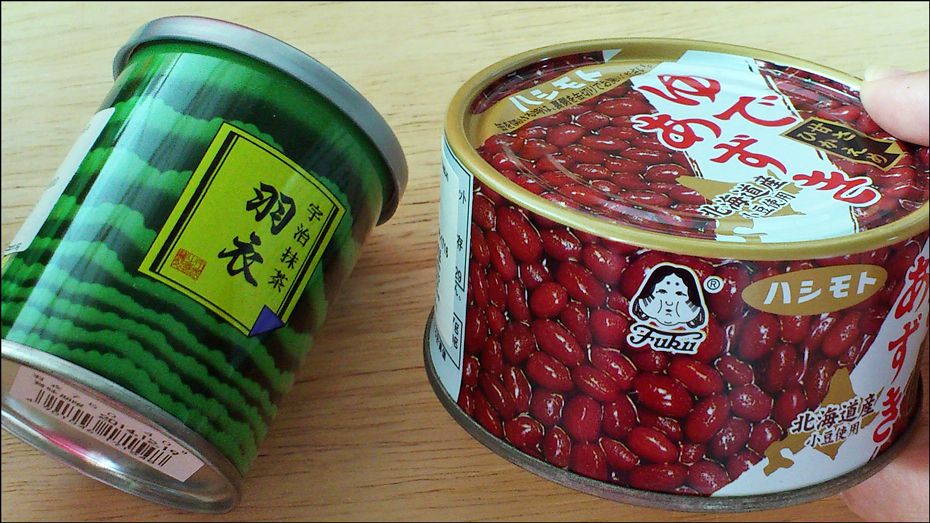
Do not change the recipe for macaron shells. It will end in tears if you do. Instead, go for a filling that has a bitter ingredient, such as coffee, matcha or cocoa buttercream. Homemade yam paste, green/red bean paste or lotus paste would be good too. You can make these with as little sugar as you like, to balance the macaron shells' sweetness. Imagine macarons filled with thick yam paste that's made with coconut milk. These "orh nee" macarons would give the buttercream and ganache lot a run for their money.
| MACARONS, FRENCH MERINGUE METHOD (法式马卡龙) (Recipe for 20 macaron shells)  40 g superfine almond flour 40 g superfine almond flour50 g icing sugar 35 g egg white 25 g castor sugar small pinch fine salt 5 drops liquid red food colouring click here for Swiss meringue buttercream recipe 1. Cut parchment paper to fit bottom of 13" x 10" baking tray. Draw twenty 3.3 cm circles on  paper with pencil, evenly spread out. paper with pencil, evenly spread out.2. Place piping tip #802 in piping bag. Cut tip of bag to fit piping tip. Tie bag with rubber band just above piping tip. 3. Place almond flour and icing sugar in food processor. Blitz till mixture looks lump free, scraping down as necessary, then blitz a bit more (to be doubly sure all lumps are obliterated). Alternatively, sift almond flour and icing sugar.4. Whisk egg white on slow speed till thick foam forms. Gradually add castor sugar, still whisking. Reduce speed. Continue to whisk till firm peak stage, i.e. peak is hooked. Reduce to manual speed. Continue to whisk till just hitting stiff peak stage, i.e. peak is straight. (Meringue is now smooth, not grainy.) 5. Sprinkle half of almond mixture on meringue. Cut with spatula till almond mixture is wet. Sprinkle with remaining almond mixture. Cut as before. Fold till just evenly mixed. 6. 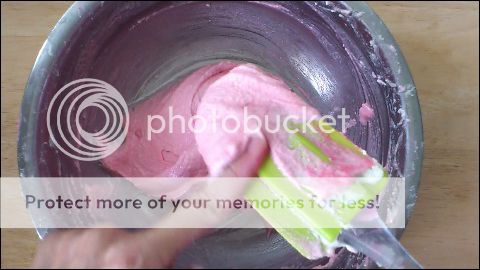 Add food colouring and fine salt. Add food colouring and fine salt.7. Fold batter till colour is even and texture is smooth, pausing now and then to scrape down spatula. 8. Continue folding, pausing every 10-15 folds to drop batter from about 25 cm high. When batter moves ever so slightly after  landing, it's almost ready. landing, it's almost ready.9. Keep folding, now pausing to observe every 3-5 folds. When batter oozes slightly after you stop folding, it's ready. 10. Transfer batter into piping bag. Remove rubber band. Twist top of piping bag tightly, squeezing batter downward. 11. Pipe small dollops of batter in corners of baking tray. Place parchment paper on tray, pencilled side facing down. Press paper against batter so that it sticks well. Pipe using drawn circles as guide, avoiding batter that's under parchment paper. 12. Rap baking tray against worktop – hard, 4-6 times – till tips of batter disappear or almost disappear. Prick visible air bubbles with skewer. Smooth holes and remaining tips. 13. Set tray aside till  batter isn't sticky when touched lightly, about 30 minutes depending on the weather. (I put the tray in front of a table fan turned on low because Singapore is very humid.) batter isn't sticky when touched lightly, about 30 minutes depending on the weather. (I put the tray in front of a table fan turned on low because Singapore is very humid.) 14. 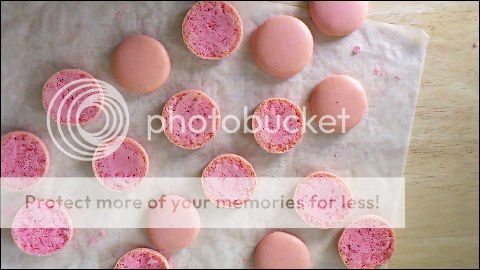 Whilst macaron batter is drying, preheat oven to 135°C. When batter is ready, bake on middle shelf of oven for 30 minutes. Whilst macaron batter is drying, preheat oven to 135°C. When batter is ready, bake on middle shelf of oven for 30 minutes.15. Remove tray from oven. Drag parchment paper onto wire rack. Leave till macarons are cool. Carefully peel parchment paper from macarons. 16. Separate macaron shells into pairs that are same size. Pipe filling of choice on one shell and top with the other. 17. Place macarons in fridge, covered, for a few hours or up to a few days. Remove from fridge before serving and allow to come to desired level of softness. |


 Knock, knock!
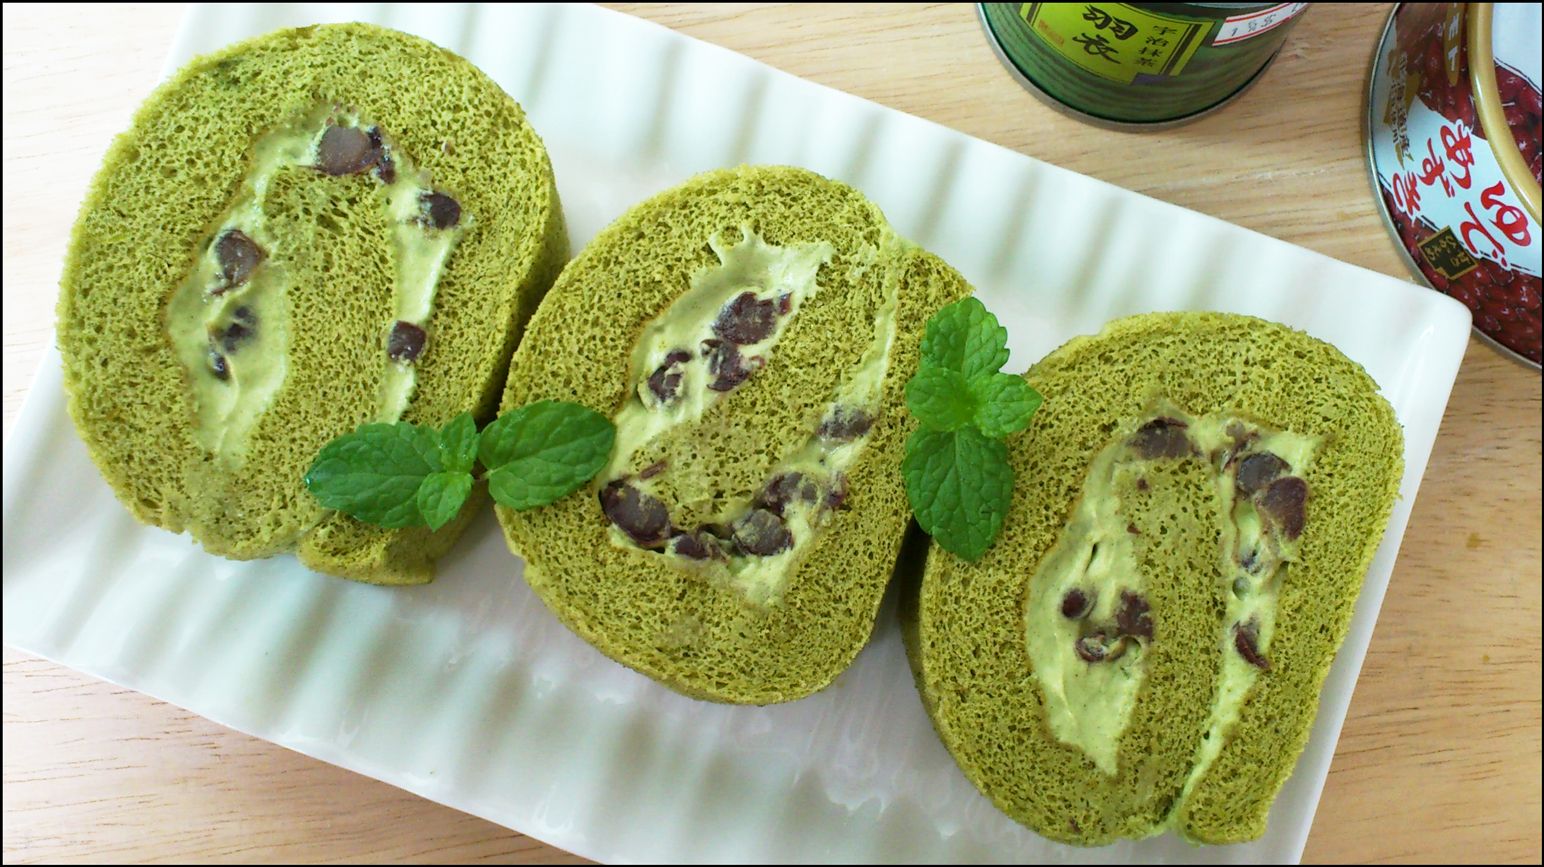
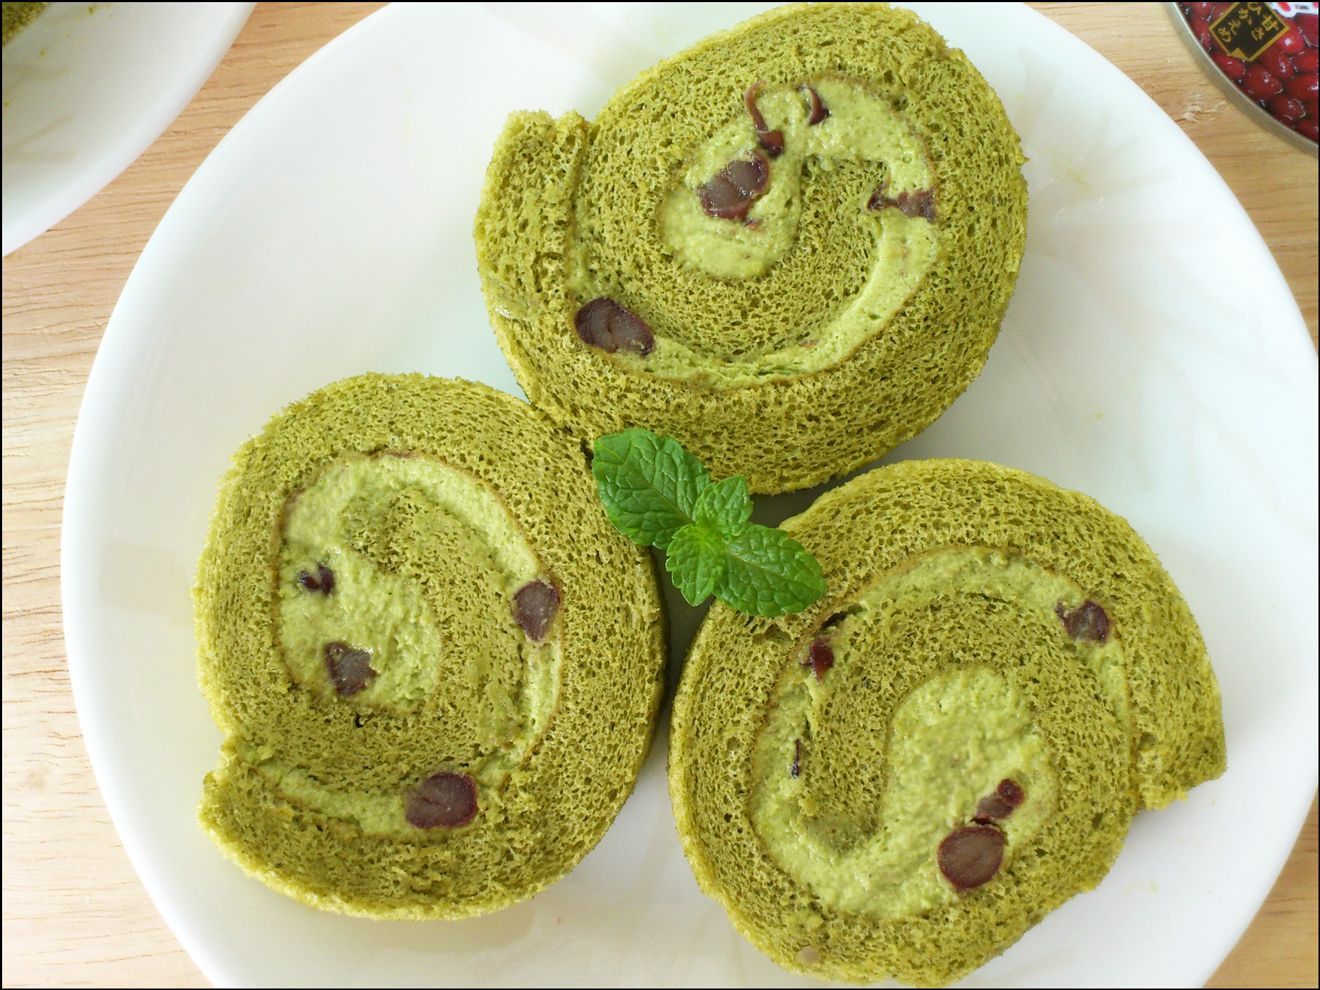
 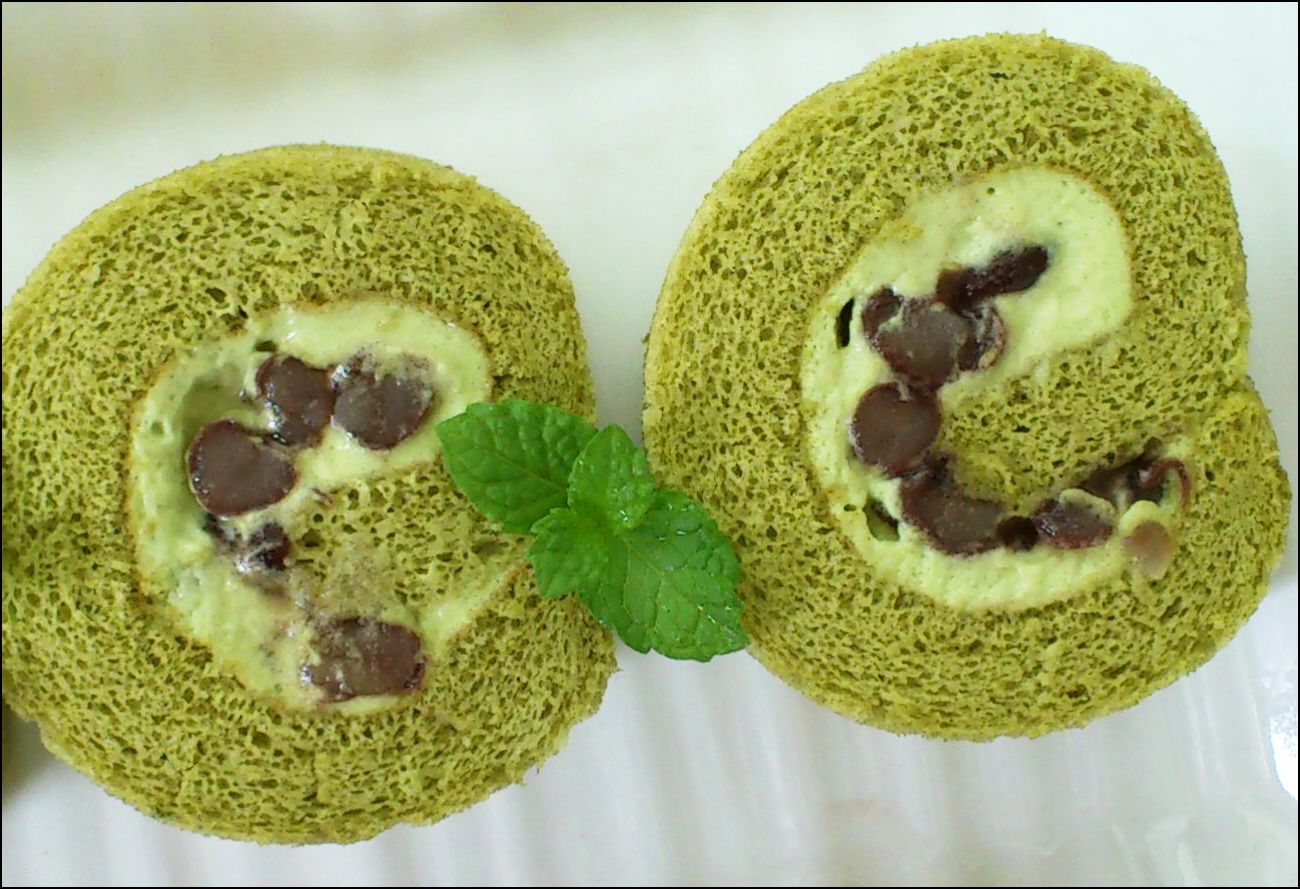 tea powder also helps "lighten" the cake. You know how tea makes food seem less rich? Matcha does that with cake.
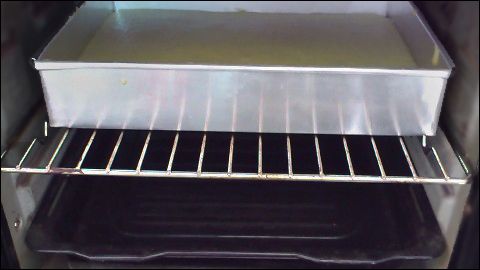
 70 g egg whites
 If you double the recipe, use a 13" x 10" pan.