 Forget cooking Cantonese porridge the traditional way. That takes way too long.
On the stove, simmering raw rice in lots of water or stock till it breaks down and forms a smooth, thick gruel takes 2-3 hours.
In a slow cooker, the process is an overnight job.
Some people mix the rice, after it's washed, with a bit of mashed century egg. The alkali in the egg is supposed to make the rice break down faster. Does it? Nah! This method still takes a few hours.
 Cutting the cooking time from hours to a mere 5 minutes is quite easy.
In the time you take to read this post and watch my video, you could have made some Cantonese porridge. How?
By using cooked instead of raw rice.
And forget about century eggs. Use a blender instead.
 Century egg vs blender is rather like pigeon vs WhatsApp. No one sends messages by bird any more. So why would anyone use alkalized eggs instead of a blender?
I blend cooked rice with boiling water, and then I cook it on the stove. When the mixture comes to a full boil, the job is more or less done. The total cooking time needed is about 5 minutes.
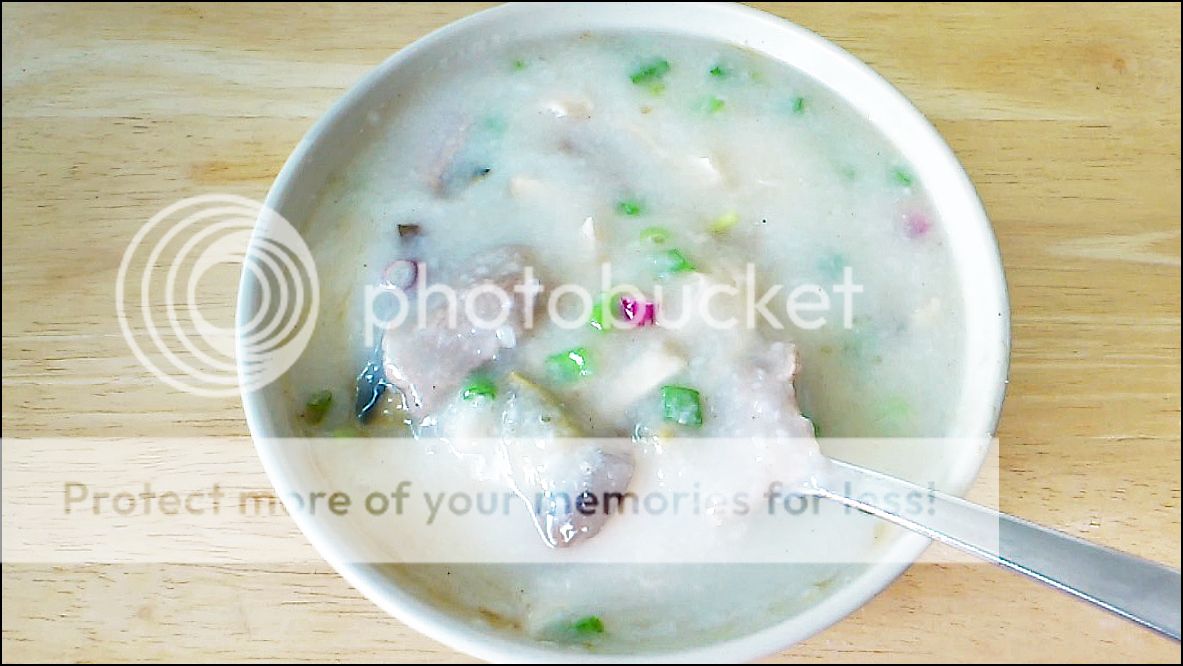 Why do I use boiling water? Because it shortens the cooking time.
What's the texture of my 5-minute porridge like? It's as silky smooth as the one that takes hours.
What about the taste? That depends on what I put in the porridge. Good stock gives the porridge great flavour. Unfortunately, it doesn't fall out of the sky.

When I don't have homemade stock, I use the seasoning powder that comes with instant noodles. If that's not available, I use Knorr chicken powder plus a good bit of sugar. To make up for the lack of homemade stock, I put lots of meat and century egg in the porridge.
 Just so we're clear, 5 minutes is the cooking time for plain porridge. It does not include prepping time for meat, etc; or the time for boiling water; or the "breathing time" for century eggs.
If porridge is your kind of thing, you have to try my recipe. And then go make porridge for your loved ones first thing in the morning. Of course, don't tell them it takes only 5 minutes. Let them think you wake up at the crack of dawn to cook their breakfast. They will be deeply touched.
There's a Chinese edition for my Cantonese porridge video. Click here if that's what you prefer. The usual English version is here:
5-MINUTE CANTONESE PORRIDGE (五分钟港式广东粥)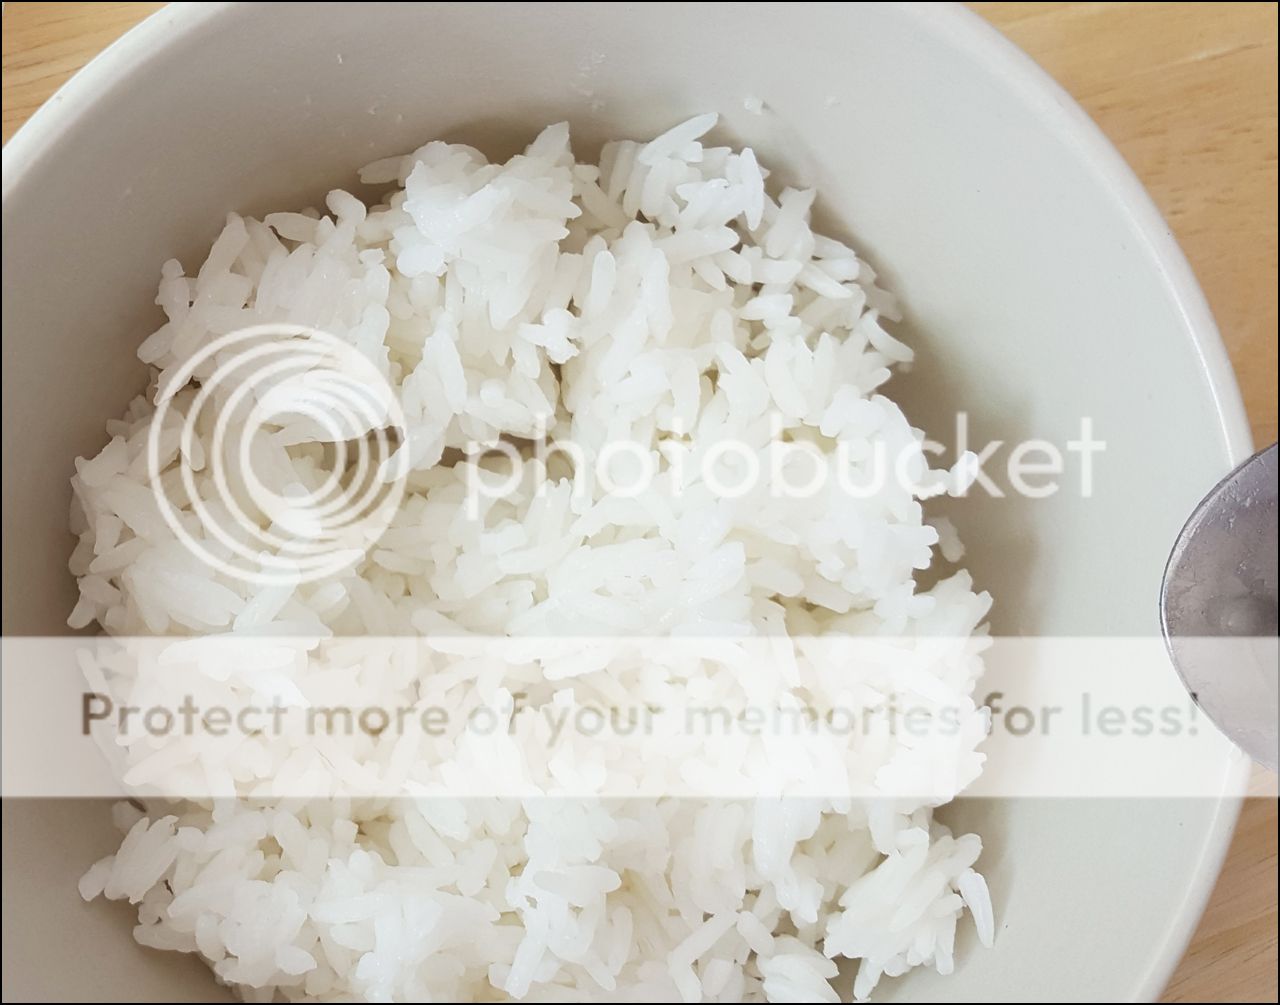 (Recipe for 1 bowl) (Recipe for 1 bowl)120 g cooked long-grain Jasmine rice (270 ml, fluffed) rice may be hot, cold or frozen 360 g boiling water (360 ml)½ tsp sugar 1¼ tsp chicken powder 40 g pork shoulder butt slice thinly across the grain, mix with ½ tsp light soya sauce and pinch cornflour 40 g chicken breaststeam till just cooked, leave till cool, shred 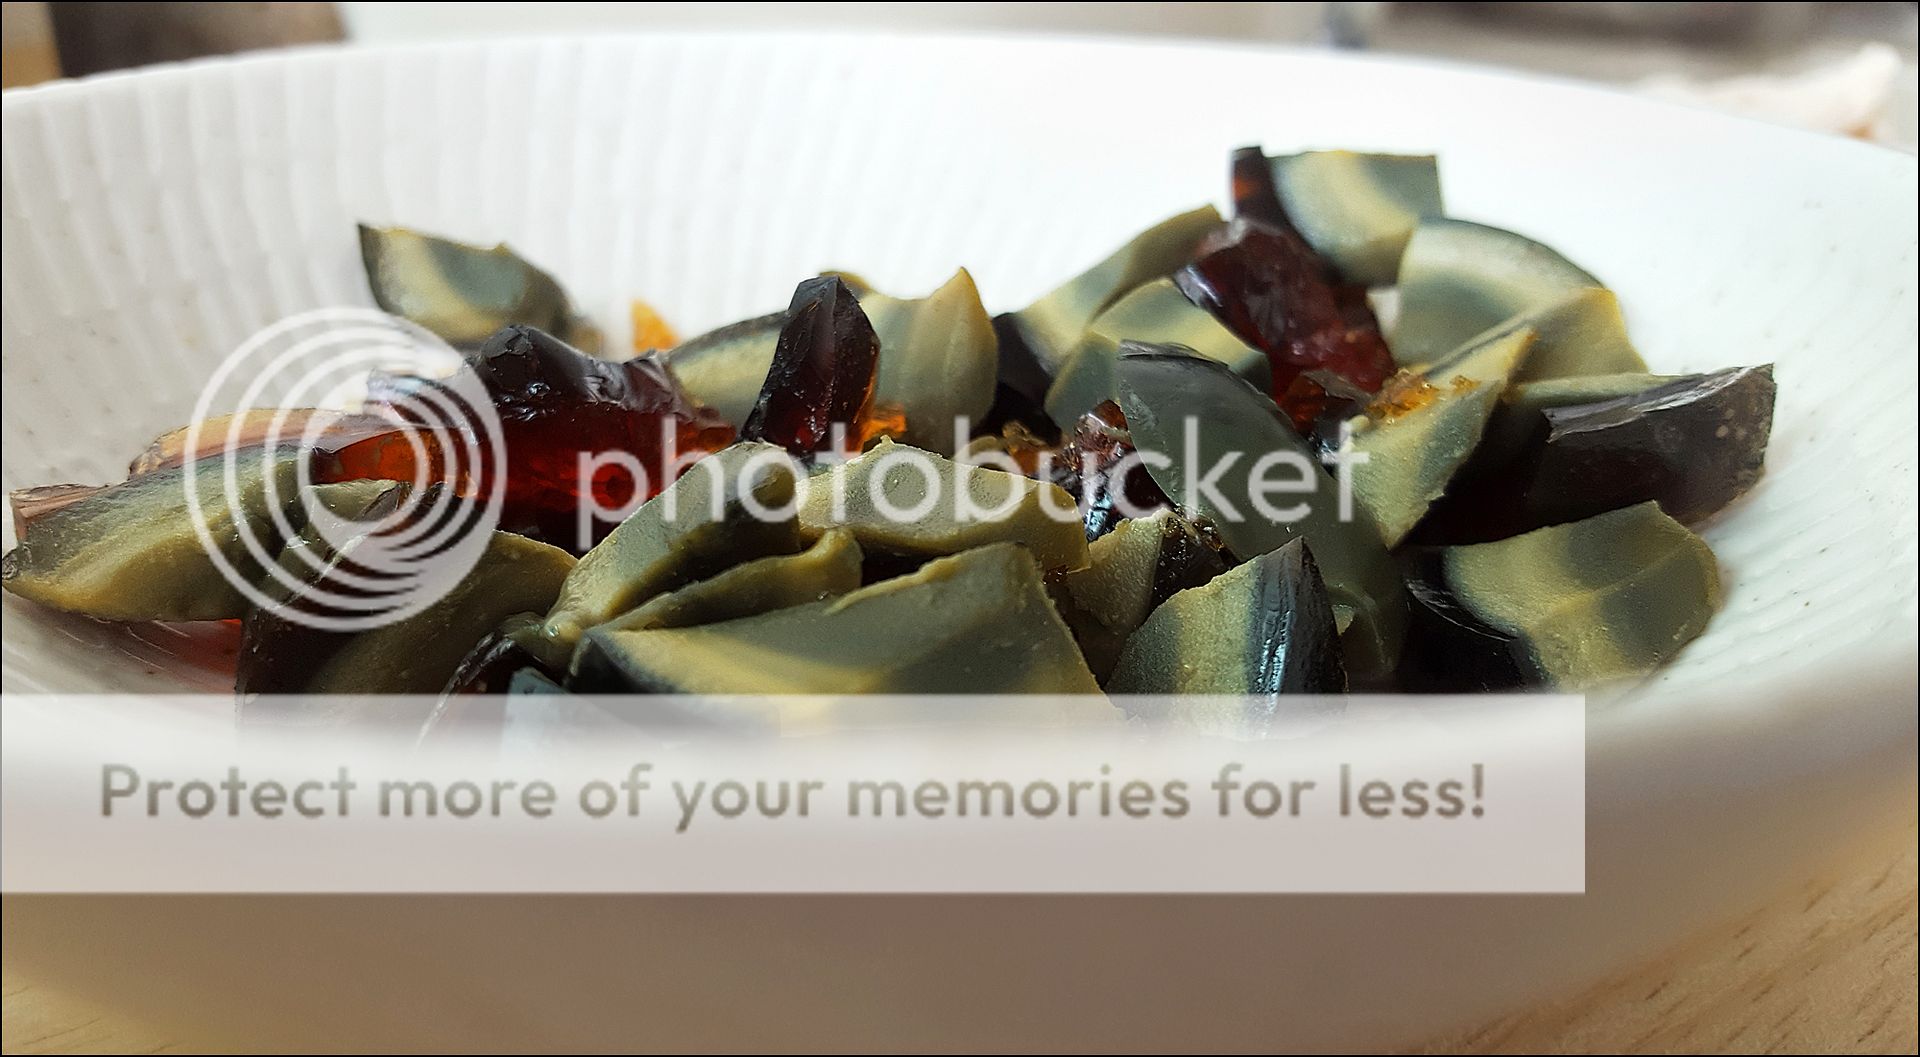 ½ century egg, peeled and rinsed ½ century egg, peeled and rinseddice, set aside uncovered for at least 15 min 1 tbsp diced spring onions ½ tsp white sesame oil dash ground white pepper 1) Blend cooked rice with boiling water till just barely visible. Add sugar and chicken powder. Stir till chicken powder dissolves. Cook over medium-low heat, stirring to prevent sticking, till porridge boils. 2) Continue cooking till porridge has consistency and smoothness you like. Add pork. Reduce heat to low. Cook and stir till porridge bubbles again . Add chicken and century egg. Stir through, adding more boiling water if porridge is too thick. Turn off heat. Taste and adjust seasoning if necessary.3) Transfer porridge into bowl. Sprinkle with spring onion, white sesame oil and ground white pepper. Serve immediately. |

 Tàng, 烫: scald.
 and added to the batter, or it's just beaten till fluffy, the cake would taste less buttery. Even beurre noisette isn't as good.
  After the edge of the heat cools down, a small amount of egg white is added to the thick paste. When this is done is critical to the success of the cake. Why? Because the timing affects the consistency of the starch. If the starch is too thick/thin, the cake won't rise well. If the starch is just right, the cake will be very smooth. You know how good wine feels smooth in the mouth? Hey, cake can be smooth too!
 The bulk of the egg whites in the recipe are whisked, separately with sugar and cream of tartar, till firm peak stage.
  turning into unsightly holes in the cake when the baking is done. If the batter is too thick to rise well, the cake will be short and dense.

 1/16 tsp salt
  Cook butter over medium-low heat, stirring with whisk, till just bubbling thoroughly. Turn off heat. (If your stove is electric, remove pan from stove.)
 Yolk mixture is now slightly bubbly. Stir with whisk to remove bubbles. Add egg whites in 3 batches. Mix with whisk till almost even after each addition. Scrape down and fold with spatula till just even, banging mixing bowl against worktop 2-3 times.
 Bake cake in bottom of oven till batter doesn't jiggle when shaken, 22-23 minutes. Move pan to lower-middle shelf. Increase temperature to 180°C. Bake till middle of cake doesn't make squishing sound when pressed, about 10-12 minutes.