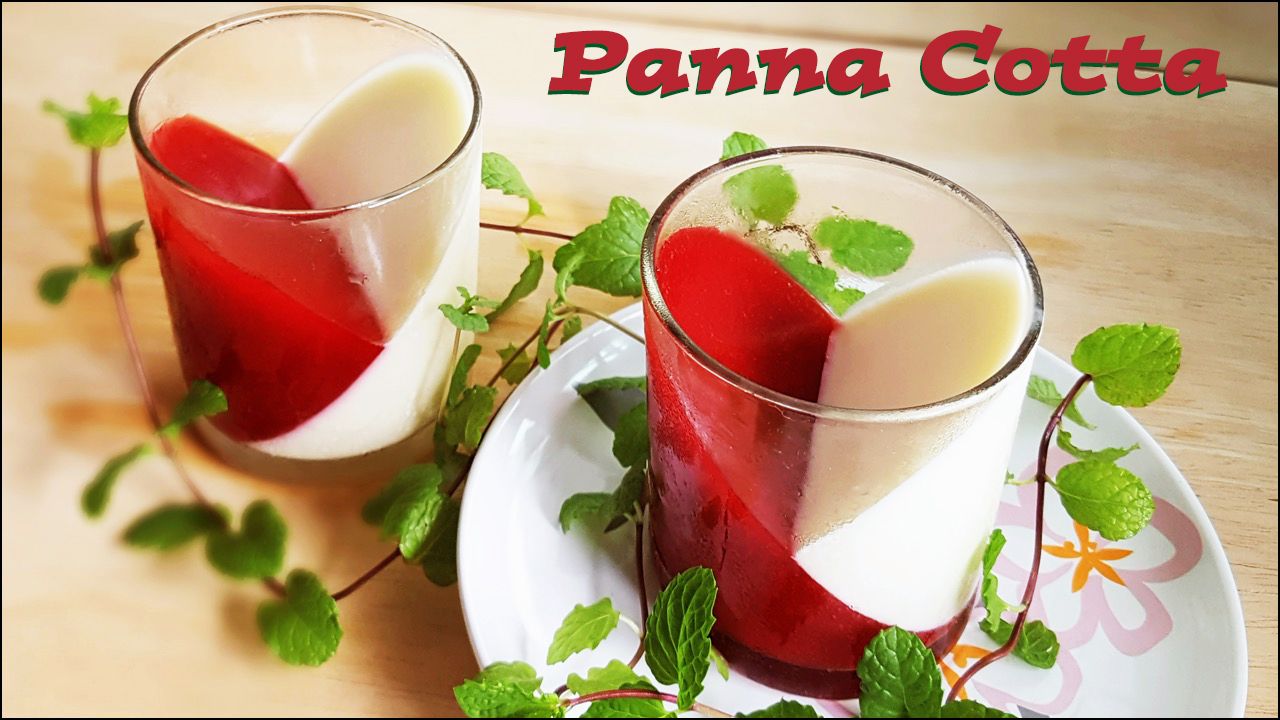
Panna cotta, at its most basic, is just milk and cream jelly. The jelly may be served as it is, but that'd be quite boring.
How to liven up plain panna cotta?
Make it heart-shaped. Make it in bright colours. Looking good is half the battle won. Tasting good is the other half.
Raspberries work like a charm in panna cotta. They brighten the blandness of milk and cream with a tart fruitiness. In return, the milk and cream tone down the sourness of raspberries. One would be lesser without the other.
Heart-shaped panna cotta is perfect when you want a light dessert. Why? Because the glass looks like it's filled to the brim, but it's actually half empty. There's really not much in there! And 3/4 of what's there is just juice, milk and water.
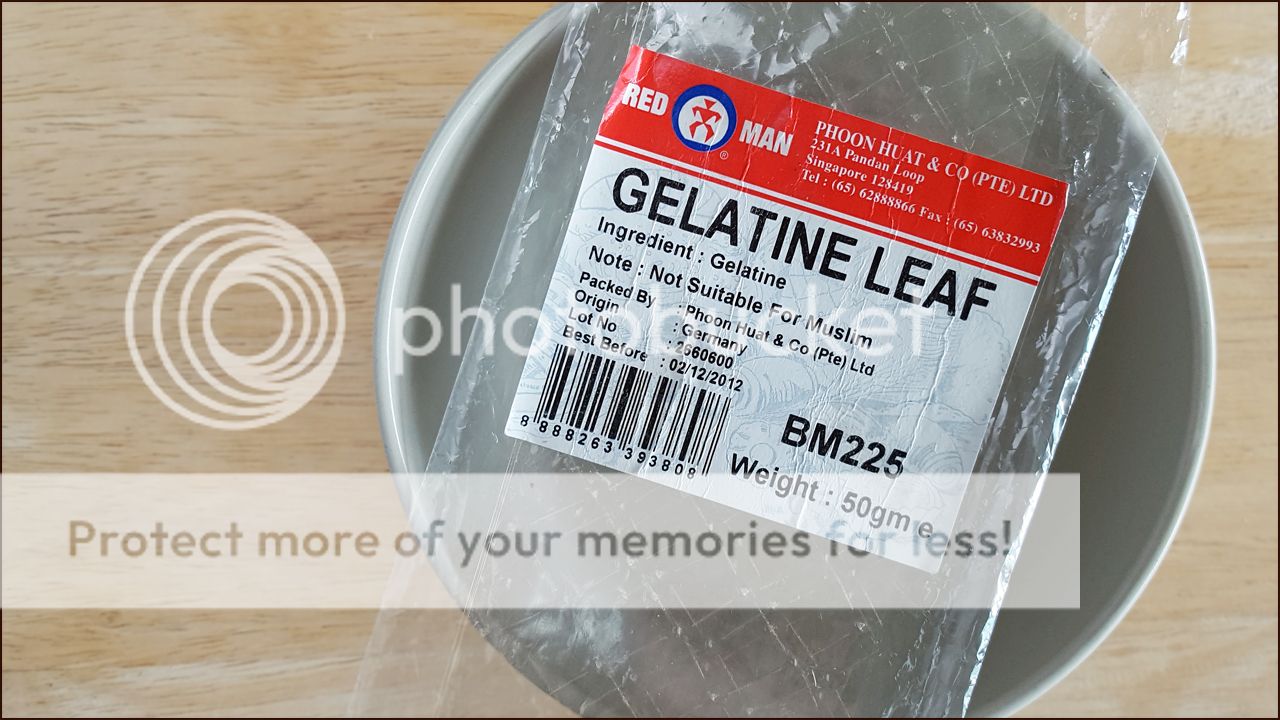
Here are a few good-to-knows that you might want to know: 1. How much gelatine powder to replace gelatine leaf? That depends on your gelatin powder's Bloom number. To replace 1 gelatine leaf with gelatine powder, use:
2.5 g or 3/4 tsp for Bloom 160-180
2.0 g or 2/3 tsp for Bloom 190-225
2. What is Bloom number? All gelatines have a Bloom number to indicate their quality of gel strength, taste and clarity. The higher the number, the better the quality.
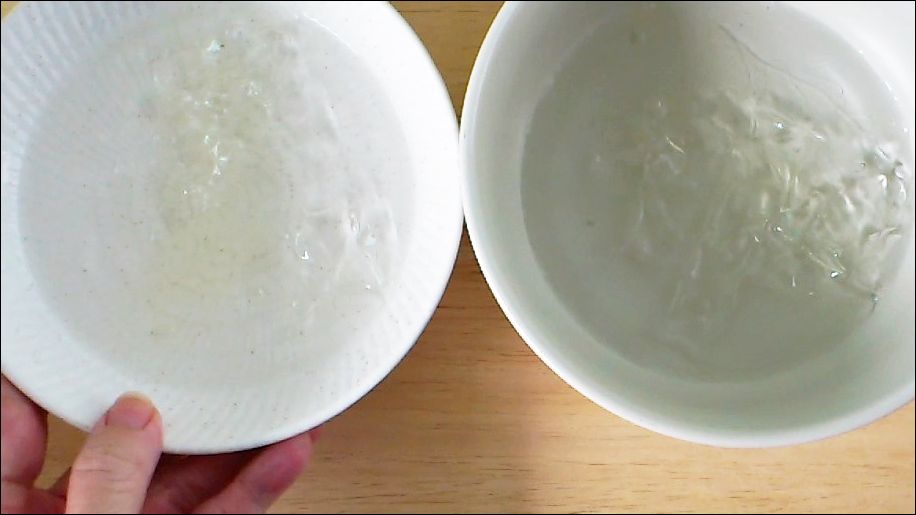
3. How to bloom and melt gelatine powder? Place the powder in a bowl. Sprinkle with just enough room temperature water to wet it thoroughly. (For 2 g powder, use 6 g water). Place the bowl in a hot water bath, and proceed as in the recipe below.
5. Why do I use frozen instead of fresh raspberries? Because they're much cheaper than fresh raspberries. The 1 kg pack I buy is S$13.70 (about US$10). Fresh ones are S$6.50 for 170 g.
6. Can you use fresh raspberries instead? Sure. But you can't mash fresh raspberries with a spatula.
7. What can you use instead of raspberries? It's a free world. Please feel free to use whatever you like.
8. Can you use water instead of milk? Milk instead of water? Milk instead of cream? "Something" instead of milk? Whole milk instead of full-fat milk? "Normal milk" instead of full-fat milk? Etc instead of etc? Please refer to point #7.
RASPBERRY PANNA COTTA
(Recipe for 2 persons)
Cream jelly 1 gelatine leaf, soak in ice water till soft 1/2 tbsp sugar 80 g full-fat milk, room temperature 80 g dairy cream with 35% fat, cold
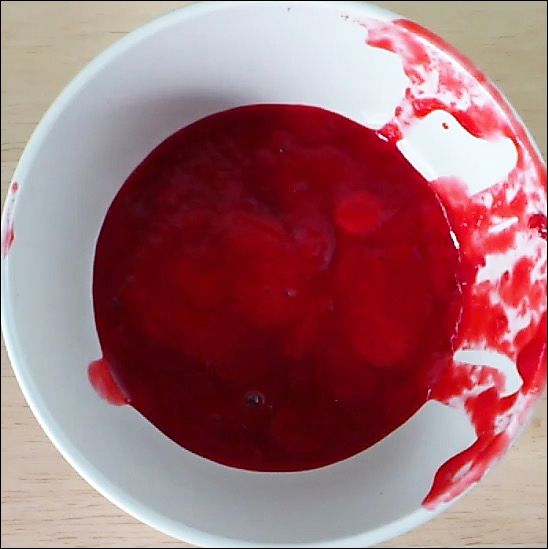
Raspberry jelly 1 gelatine leaf, soak in ice water till soft 1 tbsp sugar 60 g water, room temperature 140 g frozen raspberries
thaw, mash and sieve to yield 100 g juice
1. To make cream jelly, squeeze gelatine leaf to remove excess water. Place in bowl. Place bowl in hot water bath. Add 1/2 tbsp sugar. Stir till gelatine and sugar dissolve. Add half of milk. Stir thoroughly. Add remaining milk. Stir thoroughly. Remove bowl from water bath. Add cream. Stir thorougly. Taste and add more sugar if necessary.
2. To make raspberry jelly, squeeze gelatine leaf to remove excess water. Place in bowl. Place bowl in hot water bath. Add 1 tbsp sugar. Stir till gelatine and sugar dissolve. Add half of water. Stir thoroughly. Add remaining water. Stir thoroughly. Remove bowl from water bath. Add raspberry juice. Stir thoroughly. Taste and add more sugar if necessary.
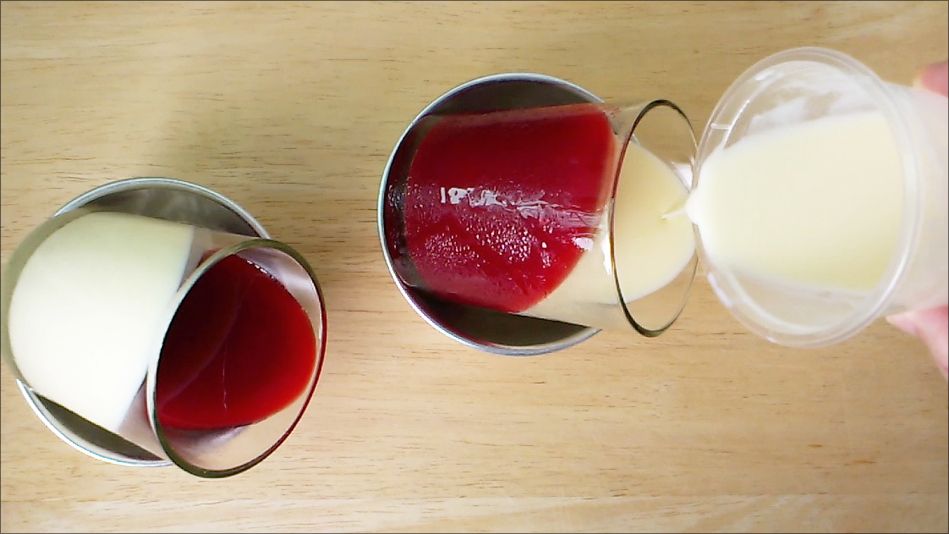
3. To assemble, rest two 8 x 7 cm glasses at 45º angle. Fill 1 glass with cream jelly. Fill other glass with raspberry jelly. Refrigerate both glasses till jelly is set, about 2 hours.
4. Leave remaining jelly at room temperature for 1 hour, then refrigerate to chill but not set.
5. When jelly in glasses is set, turn glasses 180º vertically. Fill cream jelly glass with remaining raspberry belly. Fill raspberry jelly glass with remaining cream jelly. Refrigerate till set, about 1 hour. Turn glasses upright. Cover. Refrigerate till ready to serve.
There're four ingredients in my no-bake cheesecake filling: yogurt, cream cheese, icing sugar, and gelatine.
There's no cream in the recipe.
Why not?
Because cream cheese plus cream is too heavy for the hot, humid weather in Singapore.
Instead of cream, I use natural yogurt. It's creamy but it has less than 10% of the fat in cream.
Natural yogurt is quite sour. A fair bit of sugar is needed to balance the sourness. I use icing sugar because it melts easily.
Cheesecake filling made without whipped cream needs some gelatine. There should be just enough to set the liquid ingredients. Too much gelatine would make the filling lose its creaminess and turn into pudding.
The amount of water in the filling also affects how firmly it sets. My recipe uses set yogurt. Thin, pourable yogurt would make the filling too soft because it has more water.
Cream cheese turns watery when it's mixed too much. The change is irreversible.
Watery cream cheese would make the filling less firm. Overmixing can happen in seconds if you use a food processor. But it's unlikely if you mix manually.
There're two types of cream cheese: block and spreadable. Block is firmer; spreadable is softer. This recipe works with block cream cheese. It's mixed till smooth without losing its firm consistency.
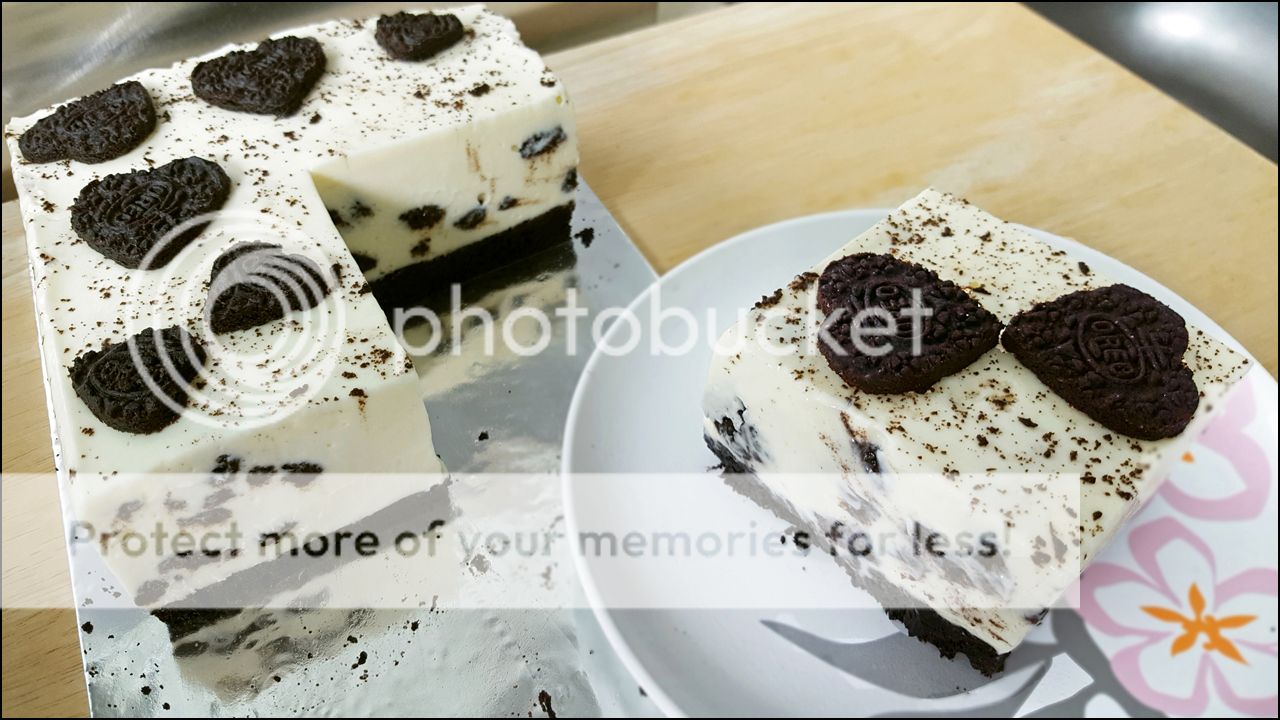
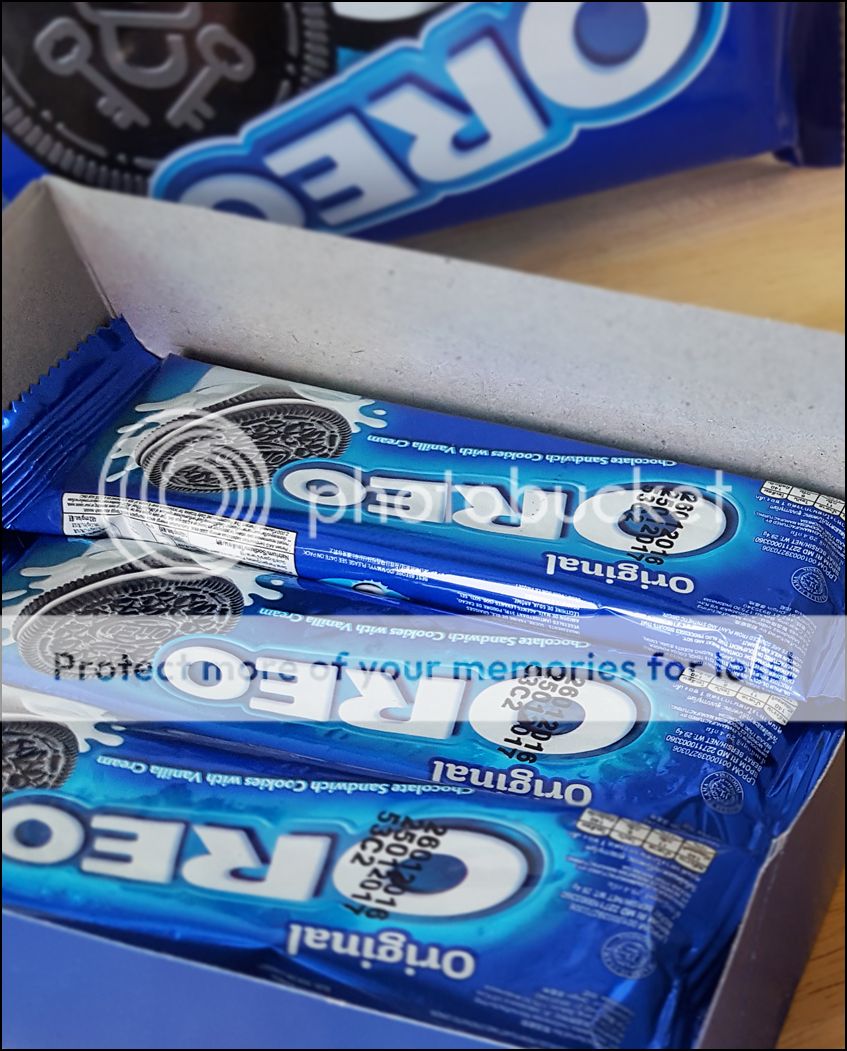
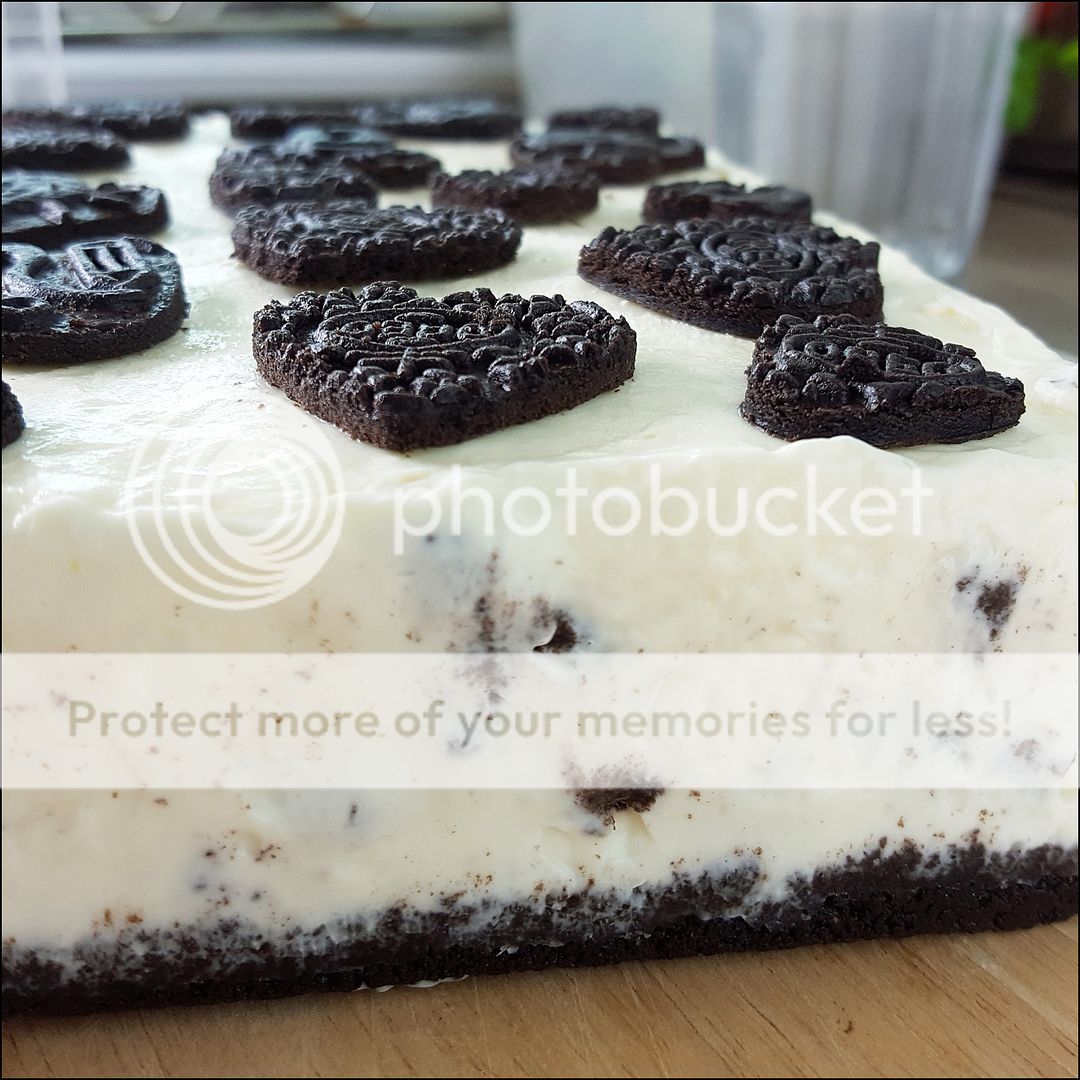
There're broken Oreo pieces in my cheesecake. I scatter the cookies between 3 layers of cream cheese mixture.
The cream cheese mixture should be thick enough to stop the cookies from sinking. But it may not be if the weather is hot, or if the cream cheese is overmixed.
What to do if the mixture is too thin? Chill it before assembling the cheesecake. When it cools down in the fridge, it thickens up nicely.
What's the right consistency? If the cream cheese mixture is level – like water – after it's poured, it's too thin. If it isn't level, but it is after you shake it, that's just right.
There're air bubbles in the cream cheese mixture. They rise to the surface and leave pockmarks on the cake when the consistency is too thin. That's another reason for getting the cream cheese mixture thick.
Cheesecake crust is made with cookie crumbs and butter. Some people melt their butter before whizzing it with cookies in a food processor. That's not necessary at all. Food processors can pulverise solid butter in seconds. Melt the butter only if you're crushing and mixing by hand.
Using a food processor speeds things up. Doing everything manually, as I show in my video, takes longer but it's hardly hard labour. I don't break a sweat making cheesecake by hand.
20 September 2016 Update All gelatines have a Bloom number to indicate their gel strength, clarity and taste. Gelatines with a low number give a softer set, they're murky, and they taste awful. Those with a high number give a firmer set. And they're almost transparent, and almost tasteless.
The amount of gelatine powder for replacing 3 gelatine leaves varies with the powder's Bloom number:
Bloom 125-155: 9.9 g (3 tsp) Bloom 160-180: 7.5 g (21/3 tsp) Bloom 190-225: 6.0 g (13/4 tsp) Bloom 235-265: 5.1 g (11/2 tsp)
To bloom gelatine powder, put it in a bowl and sprinkle with just enough room temperature water to wet it thoroughly. The powder to water ratio is 1:3 by weight, or 1:2 by volume. Once wet, the gelatine powder may be melted in a hot water bath, as for gelatine leaves in the recipe below.
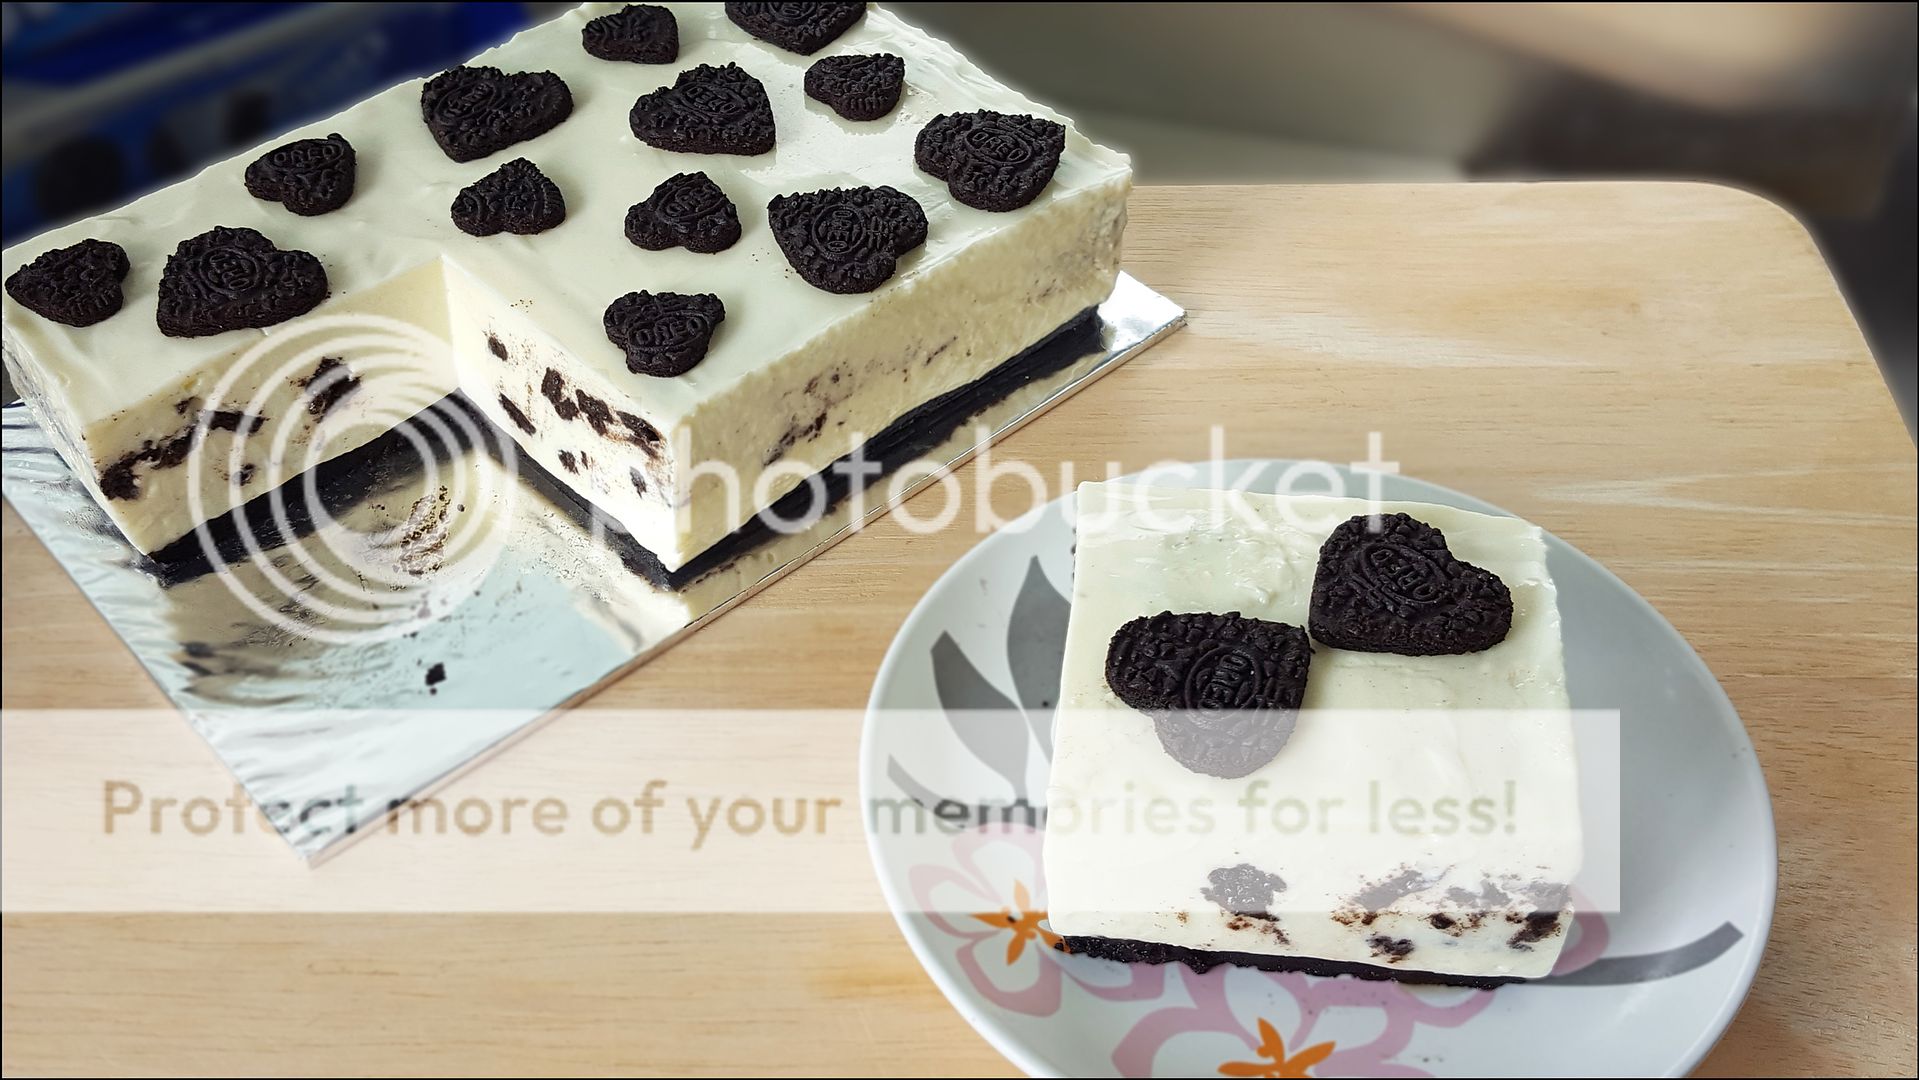
NO-BAKE OREO CHEESECAKE (免烤奥利奥芝士蛋糕)
(Recipe for one 8" x 5" x 2" cake)
中文版食谱 Crust 18 Oreos without icing (132 g) 40 g unsalted butter, melted and cool
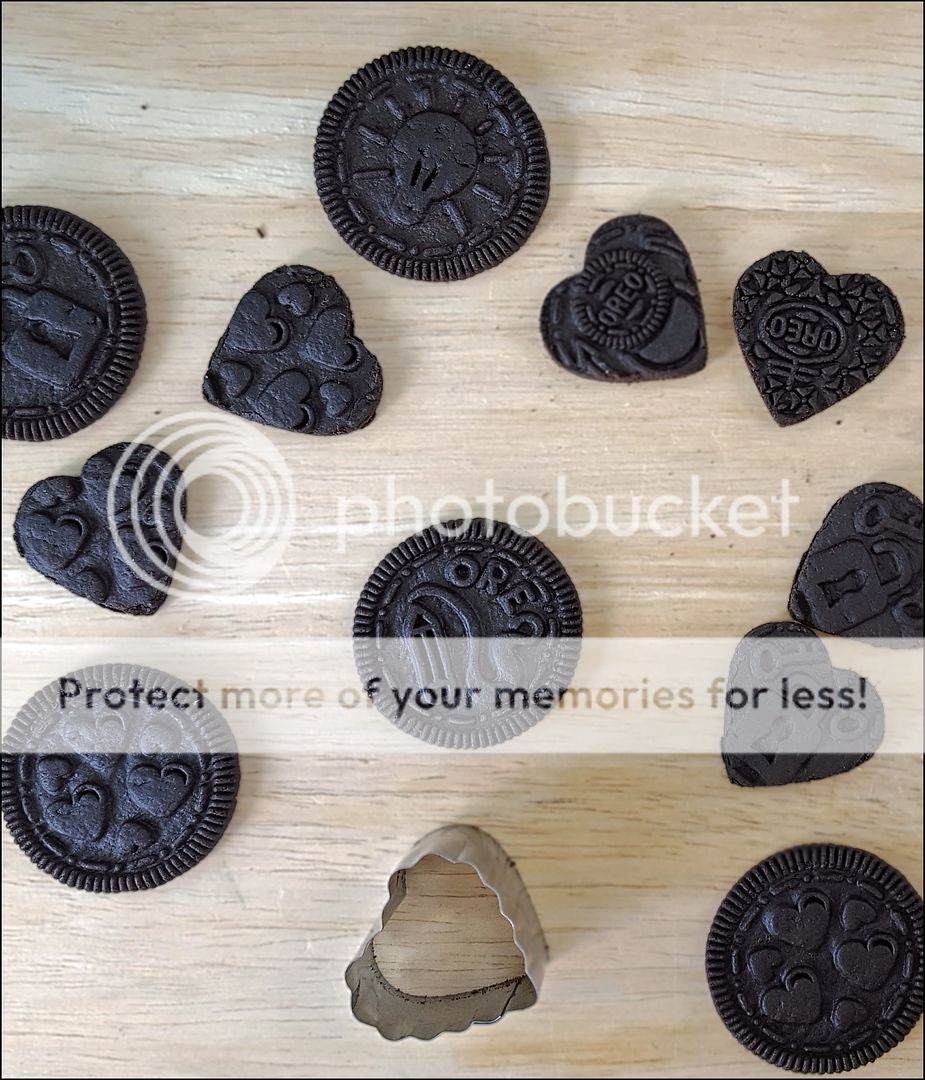
Cutouts 8.5 Oreos without icing, soft
Filling 3 gelatine leaves (read update above if using gelatine powder) 500 g full-fat natural set yogurt 250 g full-fat block cream cheese 120 g icing sugar, sift if lumpy 2.5 Oreos without icing
break into small pieces, add scraps from cutouts or another 6.5 Oreos
All ingredients, utensils and tools should be at room temperature unless otherwise stated.
1) Line 8" x 5" x 2" cake pan with 2 sheets of plastic forming "t" shape, leaving overhang of 1".
2) To make crust, place cookies in plastic bag. Bash into fine crumbs. Add butter. Mix thoroughly. Pour mixture into cake pan. Spread evenly. Press hard so that crumbs are compact. Refrigerate.
3) To make cutouts, cut cookies with 3 cm and 2 cm heart-shaped cutters.
4) To make filling, soak gelatine in ice water till just soft, 4-5 minutes. Squeeze hard to remove excess water. Place in bowl. Place bowl in freshly boiled water till gelatine is melted, about 5 minutes.
5) Add 2-3 tbsp yogurt to melted gelatine. Whisk till even and smooth. Transfer to mixing bowl. Add remaining yogurt. Whisk till even and smooth.
6) Beat cream cheese till half smooth. Add icing sugar. Beat till just even and smooth. Add about 1/4 of yogurt mixture. Whisk till just smooth. Add remaining yogurt mixture. Whisk till just even. Taste and add more sugar if you like. Scrape down thoroughly and mix through.
7) If necessary, chill cream cheese mixture till consistency is like softly whipped cream.
8) Pour almost 1/3 of cream cheese mixture into cake pan. Sprinkle with half of cookies. Repeat layering as before. Finish with layer of cream cheese mixture. Bang cake pan against worktop 3-4 times. Cover and refrigerate till filling is set, about 8 hours. Keep chilled till serving time.
9) To serve, remove cake from pan. Discard plastic lining. Transfer cake to cake board. Decorate with cutouts. Cut with chef's knife, wiping knife clean after each cut.
Forget cooking Cantonese porridge the traditional way. That takes way too long.
On the stove, simmering raw rice in lots of water or stock till it breaks down and forms a smooth, thick gruel takes 2-3 hours.
In a slow cooker, the process is an overnight job. Some people mix the rice, after it's washed, with a bit of mashed century egg. The alkali in the egg is supposed to make the rice break down faster. Does it? Nah! This method still takes a few hours.
Cutting the cooking time from hours to a mere 5 minutes is quite easy.
In the time you take to read this post and watch my video, you could have made some Cantonese porridge. How?
By using cooked instead of raw rice.
And forget about century eggs. Use a blender instead.
Century egg vs blender is rather like pigeon vs WhatsApp. No one sends messages by bird any more. So why would anyone use alkalized eggs instead of a blender?
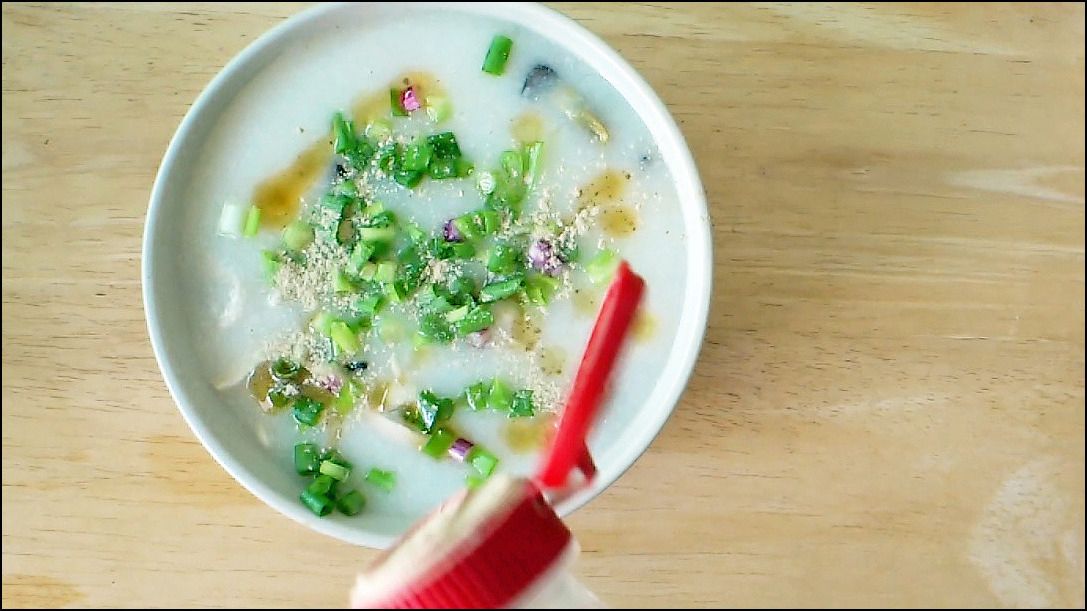
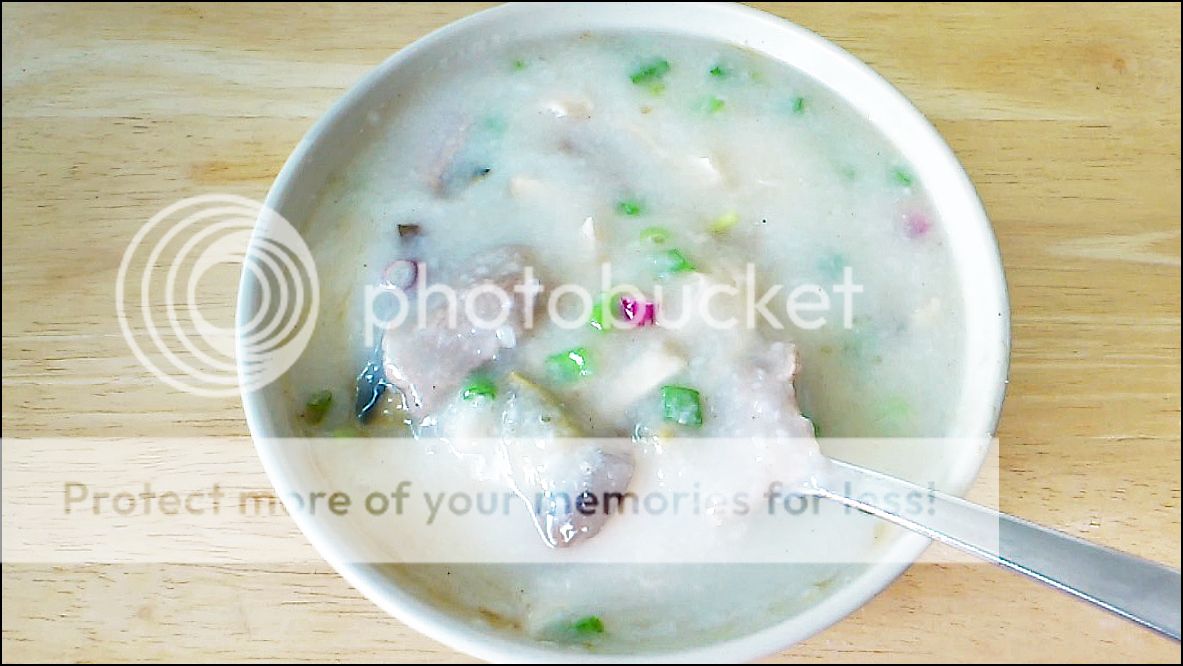
I blend cooked rice with boiling water, and then I cook it on the stove. When the mixture comes to a full boil, the job is more or less done. The total cooking time needed is about 5 minutes.
Why do I use boiling water? Because it shortens the cooking time.
What's the texture of my 5-minute porridge like? It's as silky smooth as the one that takes hours.
What about the taste? That depends on what I put in the porridge. Good stock gives the porridge great flavour. Unfortunately, it doesn't fall out of the sky.
When I don't have homemade stock, I use the seasoning powder that comes with instant noodles. If that's not available, I use Knorr chicken powder plus a good bit of sugar. To make up for the lack of homemade stock, I put lots of meat and century egg in the porridge.
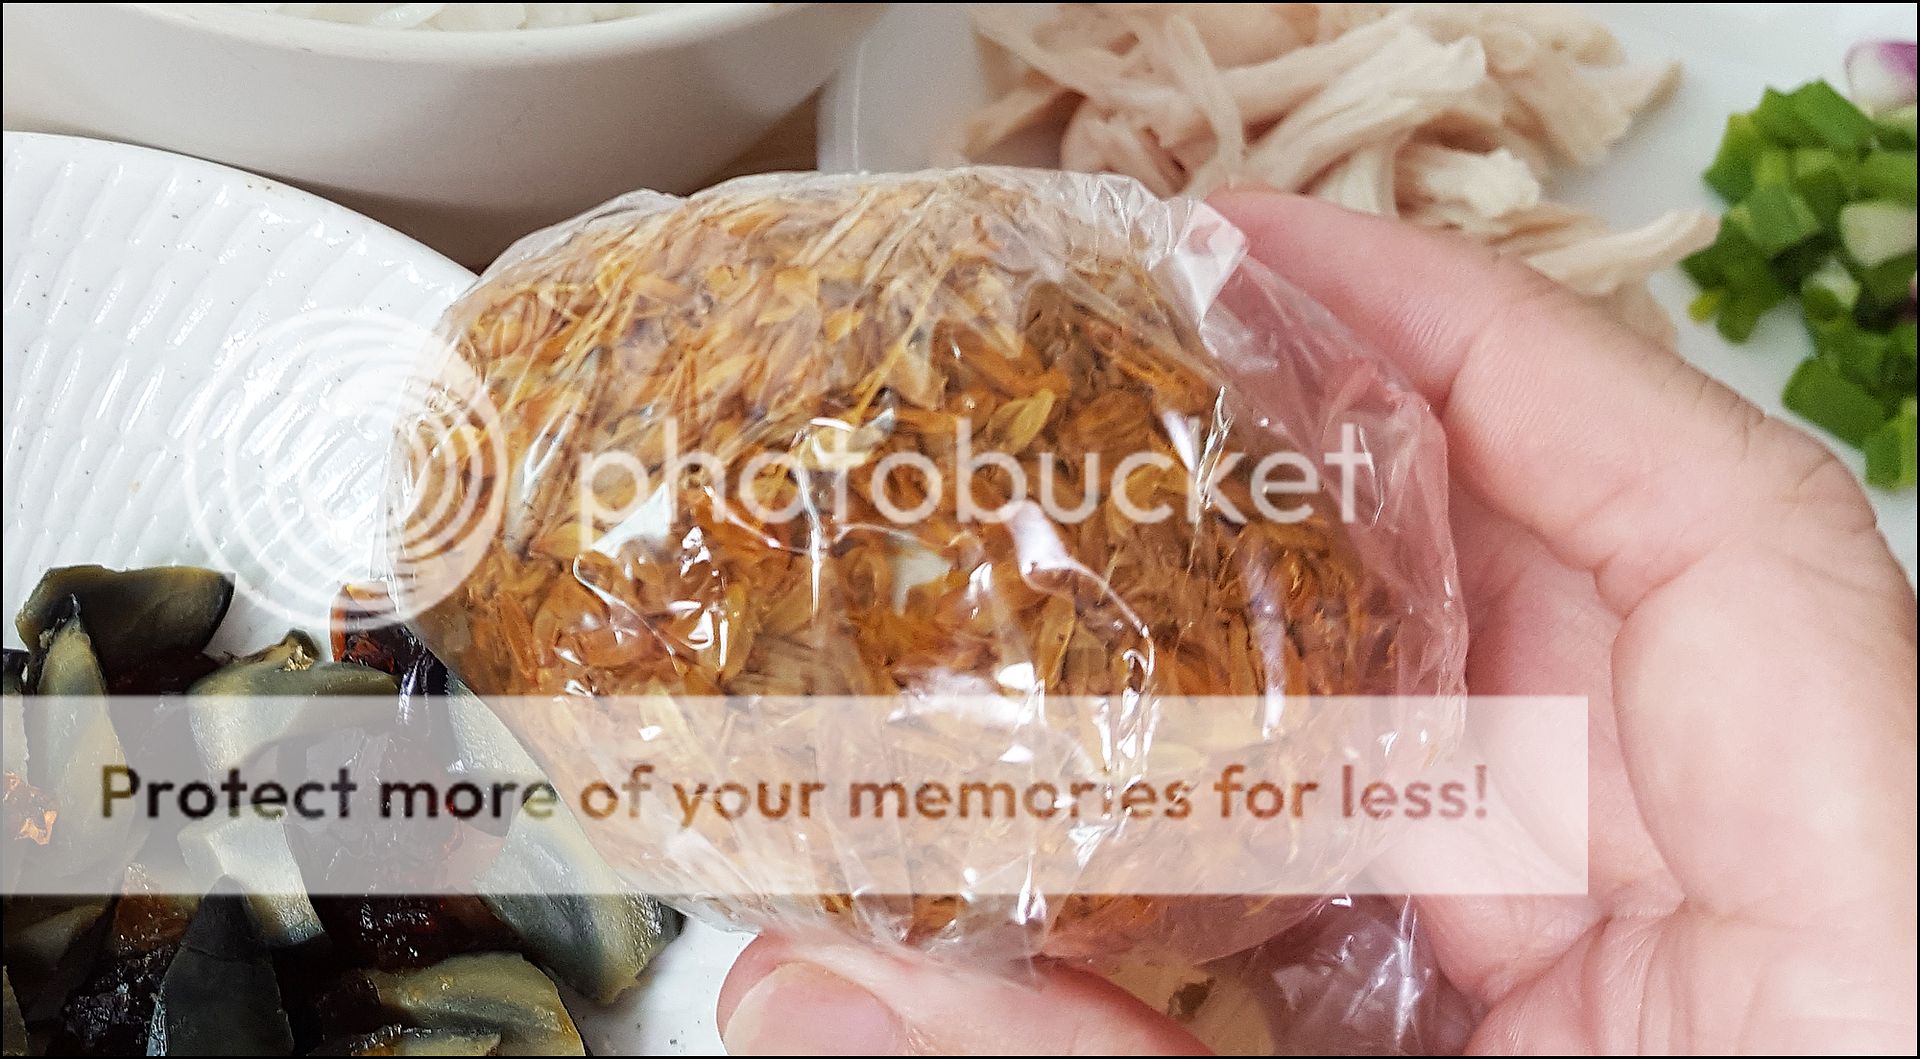
Plain Cantonese porridge is quite nice too. What do I eat with it? Anything that needs minimal or no cooking, like canned braised peanuts, salted eggs, kimchi, ham, etc.
Just so we're clear, 5 minutes is the cooking time for plain porridge. It does not include prepping time for meat, etc; or the time for boiling water; or the "breathing time" for century eggs.
1 rice cup of raw rice makes enough cooked rice for 3 bowls of porridge. Cooked rice may be used hot. Or it may be chilled or frozen till needed.
If porridge is your kind of thing, you have to try my recipe. And then go make porridge for your loved ones first thing in the morning. Of course, don't tell them it takes only 5 minutes. Let them think you wake up at the crack of dawn to cook their breakfast. They will be deeply touched.
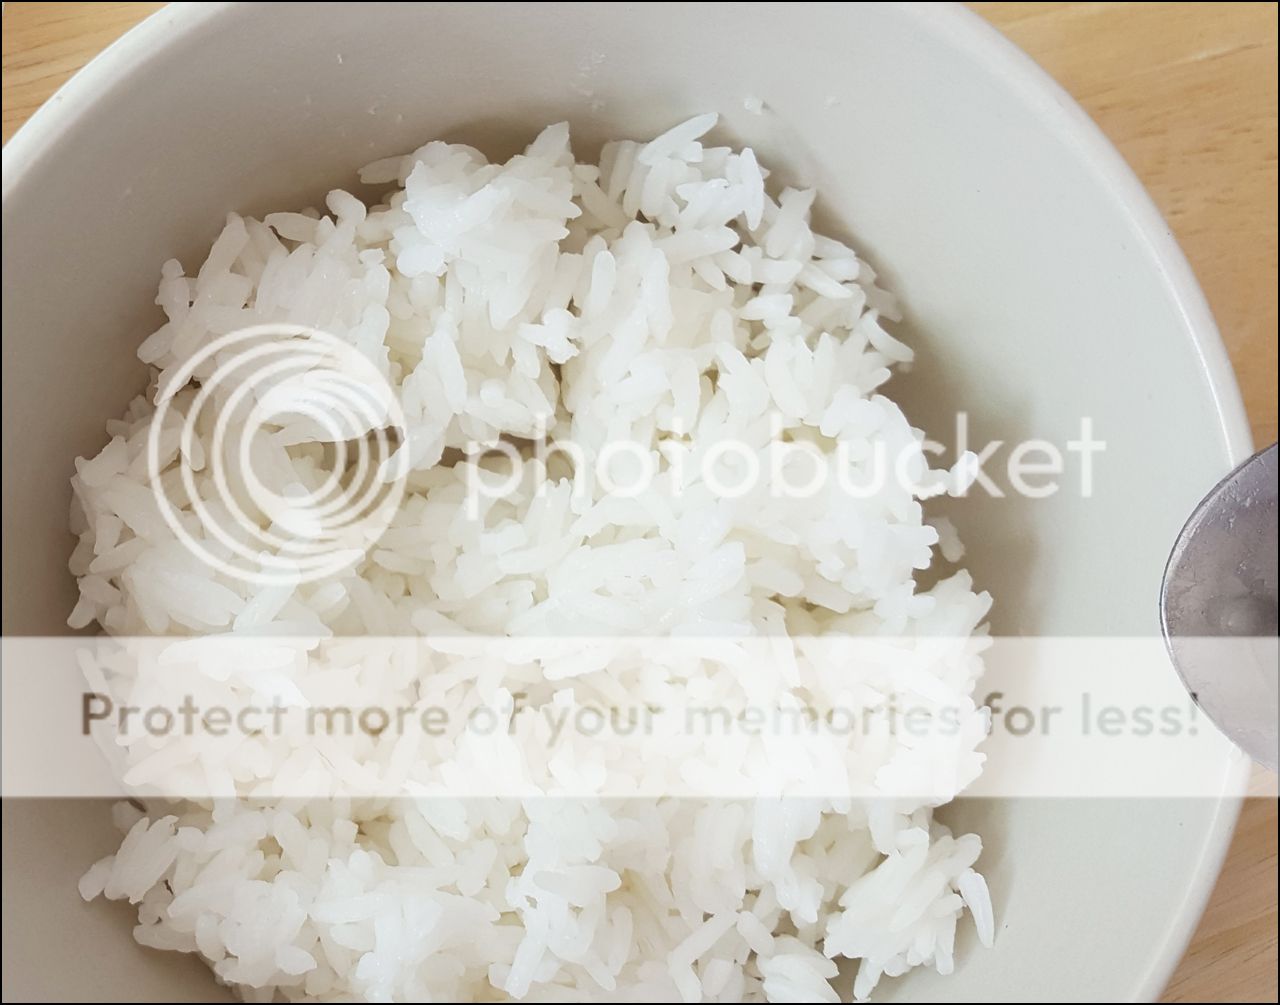
120 g cooked long-grain Jasmine rice (270 ml, fluffed)
rice may be hot, cold or frozen
360 g boiling water (360 ml) ½ tsp sugar 1¼ tsp chicken powder
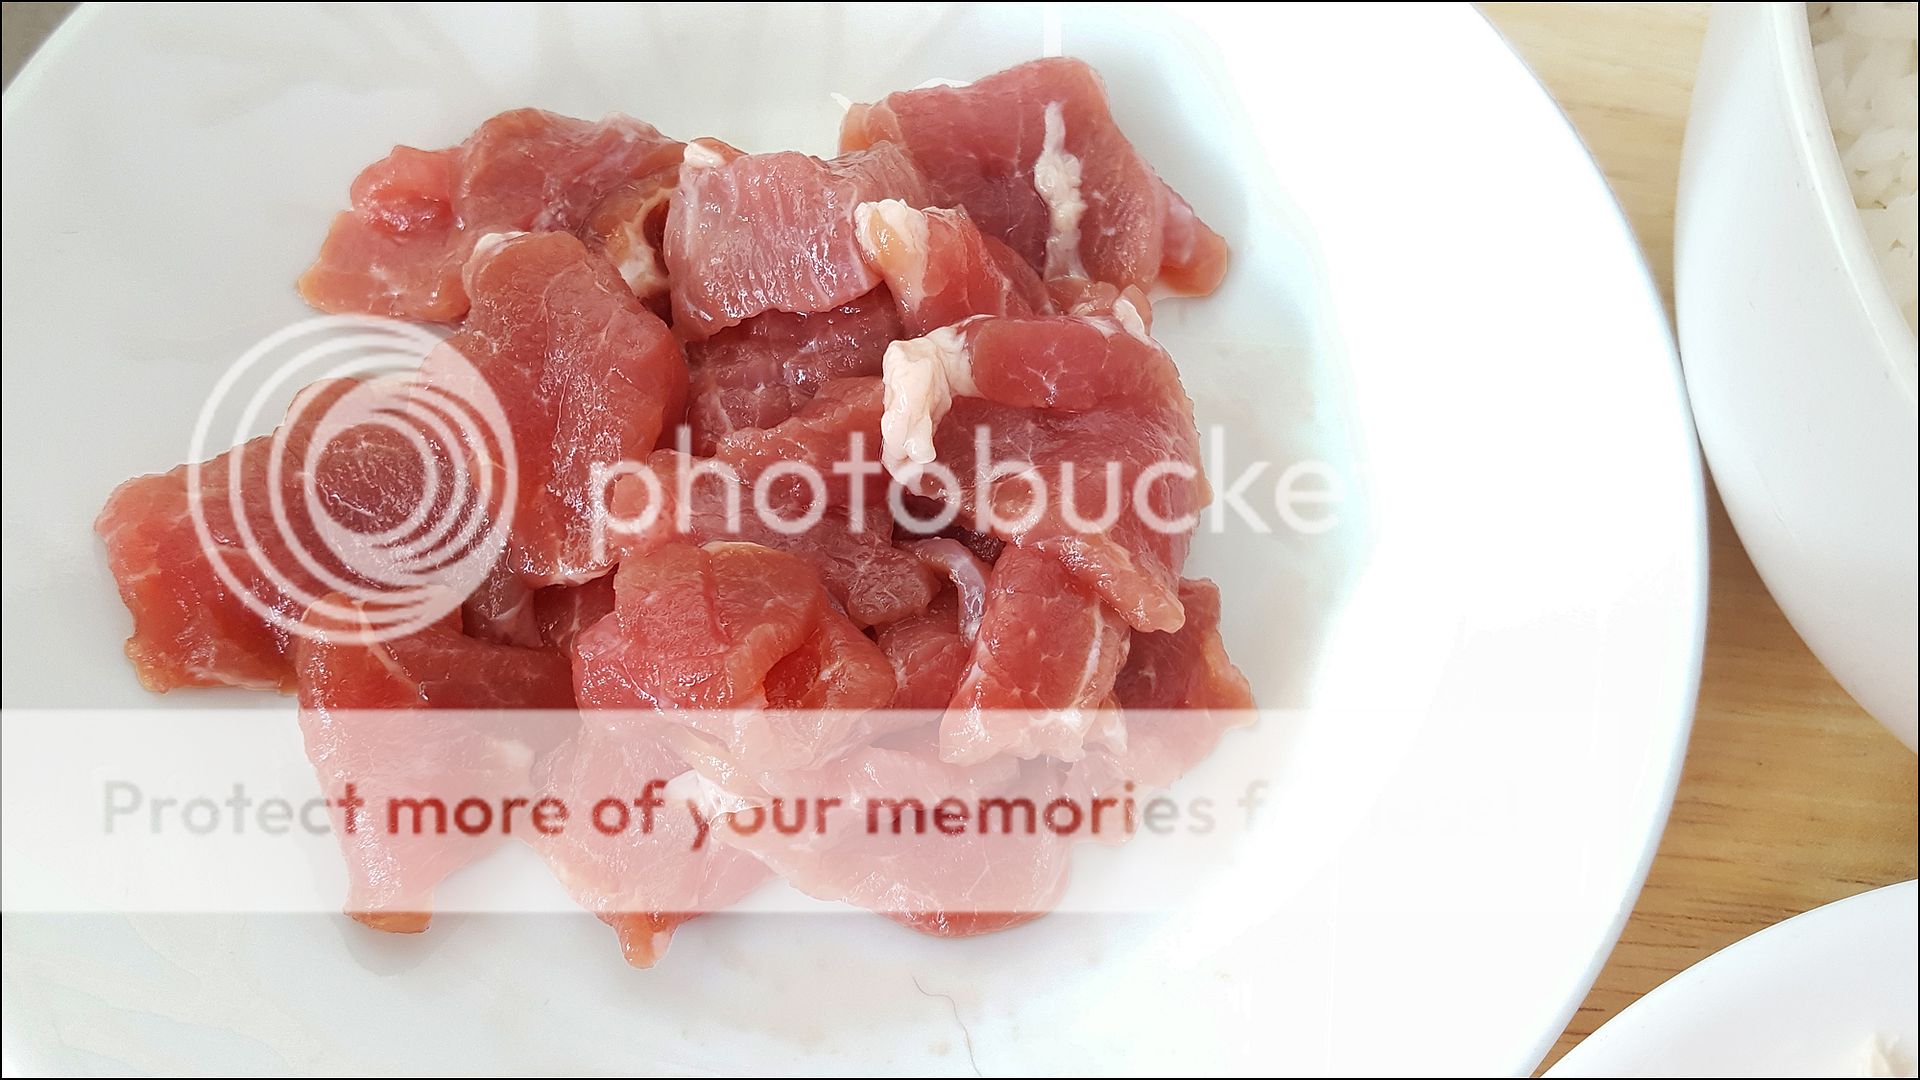
40 g pork shoulder butt
slice thinly across the grain, mix with ½ tsp light soya sauce and pinch cornflour
40 g chicken breast
steam till just cooked, leave till cool, shred
½ century egg, peeled and rinsed
dice, set aside uncovered for at least 15 min
1 tbsp diced spring onions ½ tsp white sesame oil dash ground white pepper
1) Blend cooked rice with boiling water till just barely visible. Add sugar and chicken powder. Stir till chicken powder dissolves. Cook over medium-low heat, stirring to prevent sticking, till porridge boils.
2) Continue cooking till porridge has consistency and smoothness you like. Add pork. Reduce heat to low. Cook and stir till porridge bubbles again. Add chicken and century egg. Stir through, adding more boiling water if porridge is too thick. Turn off heat. Taste and adjust seasoning if necessary.
3) Transfer porridge into bowl. Sprinkle with spring onion, white sesame oil and ground white pepper. Serve immediately.
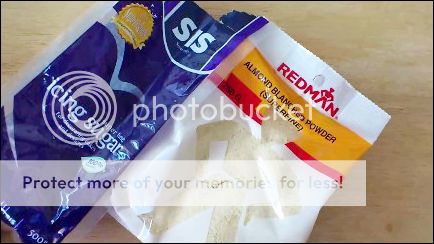
1) Which almond flour? I use Phoon Huat's superfine almond flour. PH sells three types of almond flour. Only the one labeled "SUPERFINE" is good for macarons. Almond flour that's not "macaron grade" is too coarse. Can you grind it to make it superfine? If you have a super duper grinder that's leagues ahead of what most people have at home, yes.
2) How to make French meringue for macarons? I whisk fresh egg white on speed #3 to start with (#24 is the fastest on my electric whisk). I then drop to #1 aftersugar is added. Finally, I whisk by hand to finish off. The meringue, when it's done, is at stiff peak stage, i.e. the peak is straight, not hooked. It's smooth and glossy, not grainy and matt.
Whisking slowly helps make the meringue stable. A stiff, stable meringue is crucial to everything that's important in macarons: the foot, the height, the sleek crust, the inside. If you don't want flat, footless, rough macrons with a hollow inside, you must get the meringue right. Remember: whisk SLOWLY.
3) How to hit the "macaronage" sweet spot? Mixing the meringue with almond flour and icing sugar correctly is very important. If the batter is under- or overmixed, the macarons will be flat, footless, rough, or hollow inside.
How to tell when the mixing, the so-called macaronage, hits the sweet spot? By testing. When the batter's texture is smooth, I stop folding every 10-15 folds to drop some batter from about 25 cm high. When the batter doesn't move at all after landing, it's not ready. When it moves ever so slightly, it's almost there. From this point, I stop every 3-5 folds to observe the batter. When it oozes a bit after I stop folding, it's done.
4) Why do macarons have feet? Before the batter is baked, it needs to rest till the surface isn't tacky. The dry surface is crucial to the macarons forming feet. Why? Because it's a shield, which stops steam formed during baking from rising. Since the steam can't go up, it looks for an alternative exit. Where's that? Between the batter and baking tray. That's why macarons have frilly bottoms, aka feet.
5) Why don't your macarons have feet? Cracked macarons are footless (or have poorly formed feet). Why? Because most of the steam escapes through the cracks, not the space between the batter and the baking tray. Refer to Q4.
Macarons that aren't cracked may still be footless. If the oven temperature is too high, the batter is overmixed, the batter has too little egg white, or the macarons are too small, you can wave good-bye to macaron feet. These mistakes make the batter set too quickly, so there's no time to form cracks or feet.
6) Why do your macarons crack? If the oven temperature is too high, or there's too much egg white in the batter, macarons crack because too much steam is created. Air bubbles that are too big could lead to cracks too.
Batter that isn't dry enough when it's baked could also result in cracks. Macaron batter doesn't dry well if it has too much egg white, it is overmixed, or the resting time is too short. Poking the batter when it's dry or half-dry – maybe to remove air bubbles – creates wet spots. Touching the batter before it's dry – to check if it is – creates wet spots too.
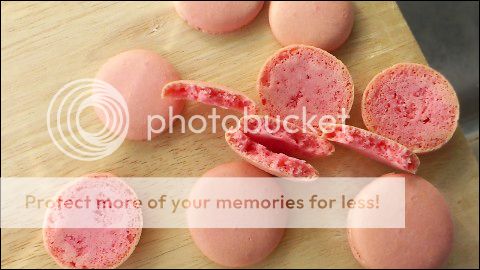
7) Why are your macarons hollow inside? When the meringue is overwhisked or whisked too quickly, it's grainy; or it turns grainy whilst the batter is waiting to be baked. Grainy meringue can't rise well, so the batter doesn't rise to fill the big air pockets created by heat. That results in a hollow under the crust.
9) Why do your macarons blister? Because big bubbles in the batter expand when heated.
8) Why are the results from your single batch of batter uneven? Only evenly mixed batter yields even results. When the batter is uneven, some macarons have feet and some don't; some are hollow inside and some aren't.
10) Why are your macarons rough? Because the almond flour is coarse, the meringue is grainy, or the batter is undermixed.
11) Why do your macarons stick to the parchment paper? Because they are underbaked, removed from the paper whilst still warm, or piped on the batter used to glue the parchment paper to the baking tray.
12) How to make macarons less sweet? Do not change the recipe for macaron shells. It will end in tears if you do. Instead, go for a filling that has a bitter ingredient, such as coffee, matcha or cocoa buttercream. Homemade yam paste, green/red bean paste or lotus paste would be good too. You can make these with as little sugar as you like, to balance the macaron shells' sweetness. Imagine macarons filled with thick yam paste that's made with coconut milk. These "orh nee" macarons would give the buttercream and ganache lot a run for their money.
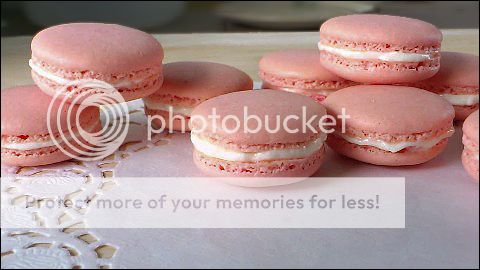
MACARONS, FRENCH MERINGUE METHOD (法式马卡龙)
(Recipe for 20 macaron shells)
40 g superfine almond flour 50 g icing sugar
35 g egg white 25 g castor sugar small pinch fine salt 5 drops liquid red food colouring
1. Cut parchment paper to fit bottom of 13" x 10" baking tray. Draw twenty 3.3 cm circles on paper with pencil, evenly spread out.
2. Place piping tip #802 in piping bag. Cut tip of bag to fit piping tip. Tie bag with rubber band just above piping tip.
3. Place almond flour and icing sugar in food processor. Blitz till mixture looks lump free, scraping down as necessary, then blitz a bit more (to be doubly sure all lumps are obliterated). Alternatively, sift almond flour and icing sugar.
4. Whisk egg white on slow speed till thick foam forms. Gradually add castor sugar, still whisking. Reduce speed. Continue to whisk till firm peak stage, i.e. peak is hooked. Reduce to manual speed. Continue to whisk till just hitting stiff peak stage, i.e. peak is straight. (Meringue is now smooth, not grainy.)
5. Sprinkle half of almond mixture on meringue. Cut with spatula till almond mixture is wet. Sprinkle with remaining almond mixture. Cut as before. Fold till just evenly mixed.
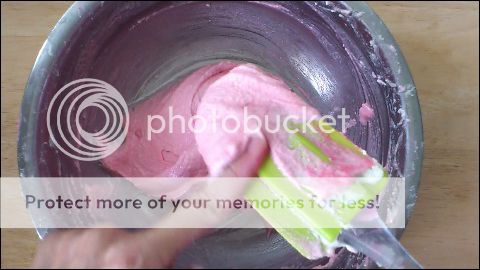
6. Add food colouring and fine salt.
7. Fold batter till colour is even and texture is smooth, pausing now and then to scrape down spatula.
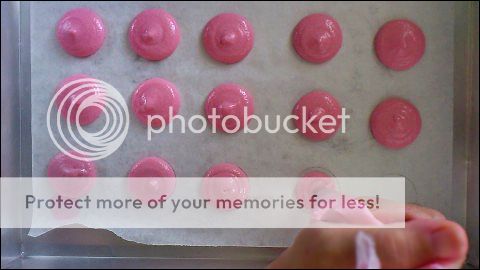
8. Continue folding, pausing every 10-15 folds to drop batter from about 25 cm high. When batter moves ever so slightly after landing, it's almost ready.
9. Keep folding, now pausing to observe every 3-5 folds. When batter oozes slightly after you stop folding, it's ready.
10. Transfer batter into piping bag. Remove rubber band. Twist top of piping bag tightly, squeezing batter downward.
11. Pipe small dollops of batter in corners of baking tray. Place parchment paper on tray, pencilled side facing down. Press paper against batter so that it sticks well. Pipe using drawn circles as guide, avoiding batter that's under parchment paper.
12. Rap baking tray against worktop – hard, 4-6 times – till tips of batter disappear or almost disappear. Prick visible air bubbles with skewer. Smooth holes and remaining tips.
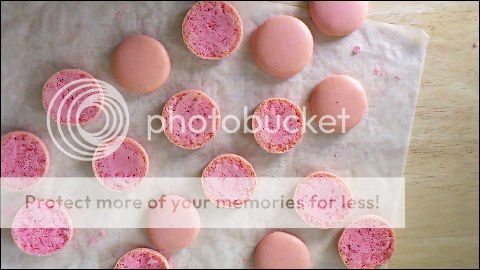
13. Set tray aside till batter isn't sticky when touched lightly, about 30 minutes depending on the weather. (I put the tray in front of a table fan turned on low because Singapore is very humid.)
14. Whilst macaron batter is drying, preheat oven to 135°C. When batter is ready, bake on middle shelf of oven for 30 minutes.
15. Remove tray from oven. Drag parchment paper onto wire rack. Leave till macarons are cool. Carefully peel parchment paper from macarons.
16. Separate macaron shells into pairs that are same size. Pipe filling of choice on one shell and top with the other.
17. Place macarons in fridge, covered, for a few hours or up to a few days. Remove from fridge before serving and allow to come to desired level of softness.
This is another Swiss roll post, the third on this blog. My matcha sheet cake is barely sweet, to keep it in character with green tea which is drunk without sugar. It has quite little oil because matcha doesn't absorb much oil. My vanilla sheet cake, in comparison, has twice as much. Green tea powder also helps "lighten" the cake. You know how tea makes food seem less rich? Matcha does that with cake.
If you don't know much about matcha, please read my post on matcha layer cake. You'll find information on what type of matcha to buy and how to store it.
My matcha sheet cake uses the chiffon method. Making the batter is quite easy. Just do the usual stuff that applies to all cakes, e.g. measuring the ingredients correctly, not over- or underbeating, not over- or undermixing, etc.
The baking part is less straightforward. When I bake the cake, I block the oven's bottom heat around two-thirds of the way. Why? To keep the inside of the cake moist whilst allowing the crust to dry out sufficiently. Without blocking the bottom heat, the crust would be sticky when the inside is just right. And if the bottom heat is blocked too early, the bottom of the cake would stick to the parchment paper.
What makes the crust dry out slowly? Matcha. Some of the fine powder rises to the top of the cake when heated. Do wet leaves dry well in the oven? No, not as well as flour which has starch to help it set. That's why the crust needs the tray's help.
I like to fill my matcha roll with matcha whipped cream and red beans. You can, of course, make sweetened red beans from scratch. But chances are your homemade version won't be as fragrant as Japanese canned red beans unless your beans are from Hokkaido. Chinese red beans are far inferior.
I've tried two brands of red beans: Hashimoto and Imuraya. Both are fragrant but I prefer Hashimoto. It has more bite and is less sweet.
Imuraya beans are mushy and the syrup, because it's thickened with cornstarch, is very gloopy. The gloop clings to the beans, adding to the sweetness and mushiness. Unlike Imuraya, Hashimoto is thickened with sorbitol. The syrup isn't as thick at room temperature, so I can drain it.
One small can of Hashimoto, 190 g, yields 130 g after it's drained. Leftovers may be refrigerated for a few weeks or frozen for a few months.
I like my matcha roll "naked", i.e. it's rolled inside out and there's no icing. I think the green, spongy look is quite pretty. Is rolling the cake difficult? Not at all. The cake handles well (provided it's made right). If you don't know much about rolling Swiss rolls, please read my post on vanilla Swiss roll.
After you make the Swiss roll, have a small piece to see what it's like. Take note of the taste and remember it. Keep the rest of the roll in the fridge, covered, for two days. Your saintly patience will be rewarded with a matcha flavour that's more intense than two days prior, and melded with the red beans. After taking a bite, you'll never again eat matcha Swiss roll that's freshly made . . . or store-bought.
Here's my video to walk you through the recipe:
MATCHA SWISS ROLL (抹茶瑞士蛋糕卷)
(Recipe for one small roll)
Cake 10 g very hot water 1/2 tbsp green tea powder
30 g egg yolks 10 g castor sugar 15 g corn oil 15 g cake flour
70 g egg whites 1/16 tsp cream of tartar 20 g castor sugar
soft butter for greasing pan Filling 75 g fresh dairy cream, 35% fat 1/2 tsp green tea powder 40 g drained red beans, Hashimoto brand (beans need at least 30 min to drain well)
If you double the recipe, use a 13" x 10" pan.
1. To make cake, preheat oven to 200°C. Grease 10" x 7" cake pan with butter. Line with 14" x 7" parchment paper, making sure paper has no air pockets or creases. Measure and prep ingredients as detailed above.
2. Add water to green tea powder. Stir till smooth. Cover. Set aside.
3. Whisk egg yolks with 10 g castor sugar till thick and pale. Add corn oil. Whisk till thick. Add green tea paste. Mix till even. Sift cake flour into mixture in 2 batches. Mix till just even after each batch.
4. Whisk egg whites on medium-low speed till very frothy. Add cream of tartar. Whisk till thick foam forms. Gradually add 20 g castor sugar whilst continuing to whisk. Reduce speed to low. Keep whisking till firm, hooked peak stage.
5. Loosen egg yolk mixture from bottom of bowl. Add egg whites in 2 batches. Mix with whisk till almost even after each batch. Scrape down and fold with spatula till just evenly mixed, banging bowl against worktop 2-3 times.
6. Scrape batter into cake pan, slowly and from 1' high. Spread as evenly as possible. Jiggle vigorously till batter is level, banging cake pan against worktop 2-3 times.
7. Bake cake on middle shelf of oven till risen, about 9 minutes (10 minutes if recipe is doubled). Place baking tray in bottom of oven. Continue baking till crust is lightly brown and middle of cake doesn't make squishing sound when pressed, 4-5 minutes (5-6 minutes if recipe is doubled), checking once every 30-45 seconds towards the end.
8. Remove pan from oven. Drop from 1' high 2-3 times. Loosen cake with knife. Drag onto wire rack. Leave till cold. Remove from wire rack. Place new parchment paper on cake. Flip cake upside down. Peel old parchment paper from cake, slowly. Flip again.
9. To make filling, whip cream till thick enough to hold its shape. Add green tea powder. Whisk till thick enough to stick to whisk.
10. To assemble Swiss roll, spread cake with whipped cream, then red beans. Roll. Refrigerate for 2 days, covered. Remove from fridge. Cut with serrated knife, wiping knife clean after each cut. Tuck in when cake is soft but filling is still firm.
 Panna cotta, at its most basic, is just milk and cream jelly. The jelly may be served as it is, but that'd be quite boring.
 Raspberries work like a charm in panna cotta. They brighten the blandness of milk and cream with a tart fruitiness. In return, the milk and cream tone down the sourness of raspberries. One would be lesser without the other.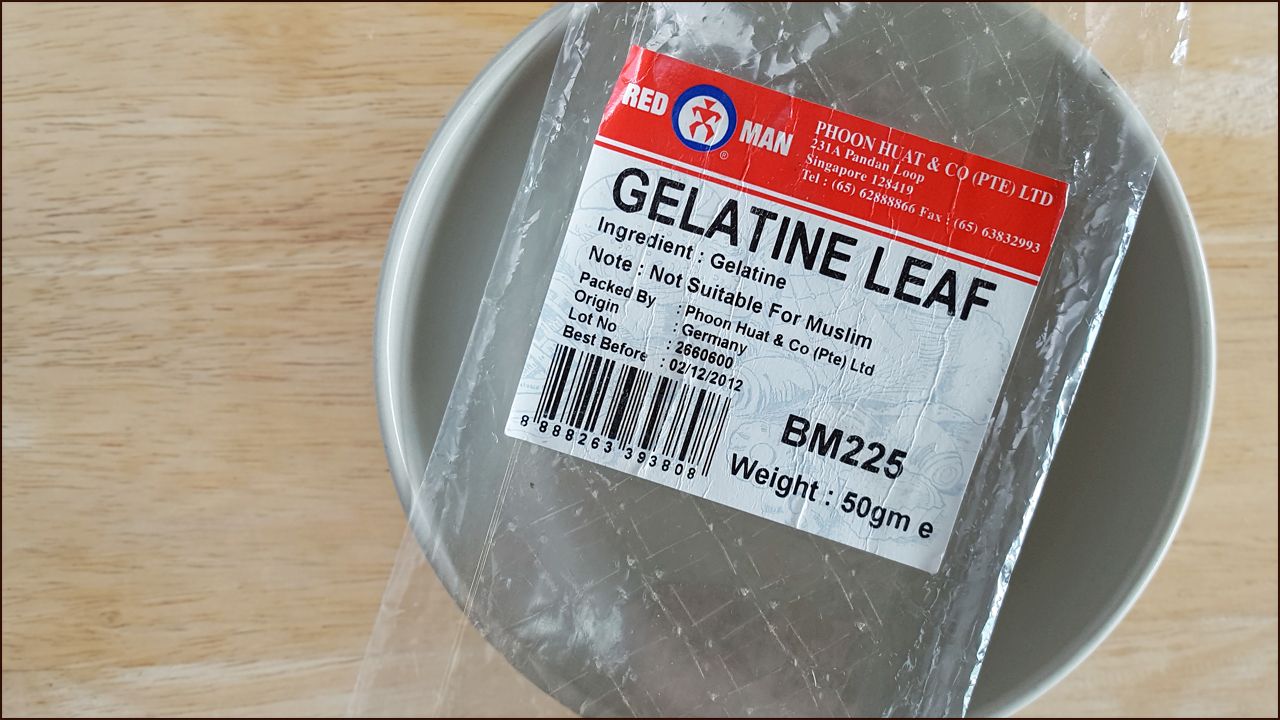
 3. How to bloom and melt gelatine powder?
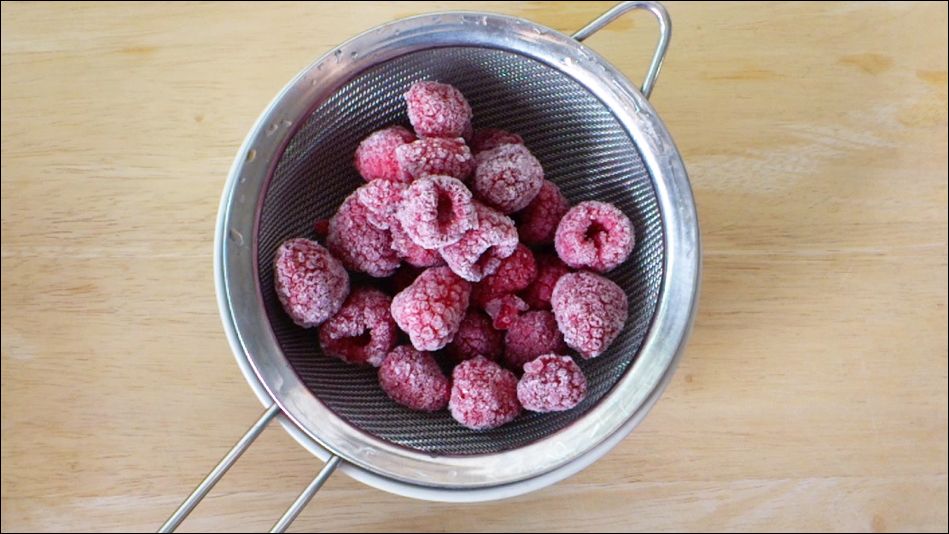 5. Why do I use frozen instead of fresh raspberries?
 RASPBERRY PANNA COTTA
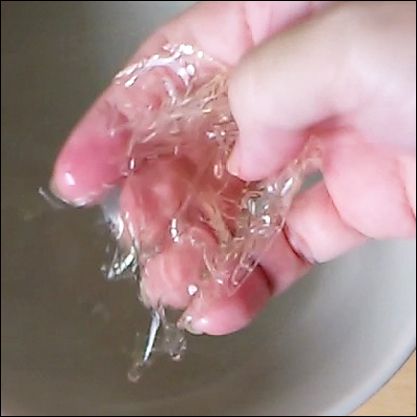 Place in bowl. Place bowl in hot water bath. Add 1/2 tbsp sugar. Stir till gelatine and sugar dissolve. Add half of milk. Stir thoroughly. Add remaining milk. Stir thoroughly. Remove bowl from water bath. Add cream. Stir thorougly. Taste and add more sugar if necessary.
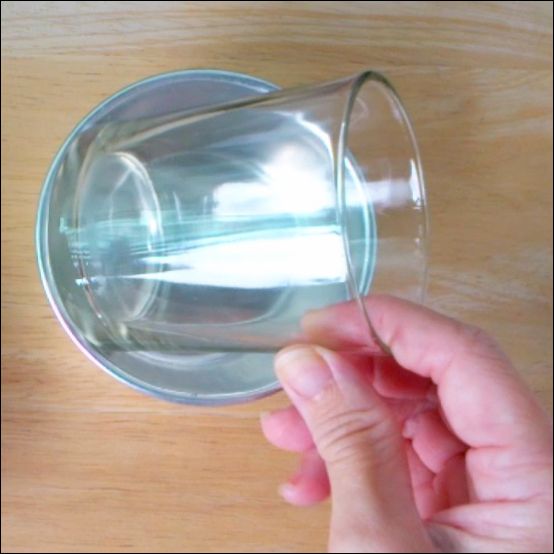 3. To assemble, rest two 8 x 7 cm glasses at 45º angle. Fill 1 glass with cream jelly. Fill other glass with raspberry jelly. Refrigerate both glasses till jelly is set, about 2 hours.
 吉利丁是什么?吉利丁=gelatine=明膠=鱼膠。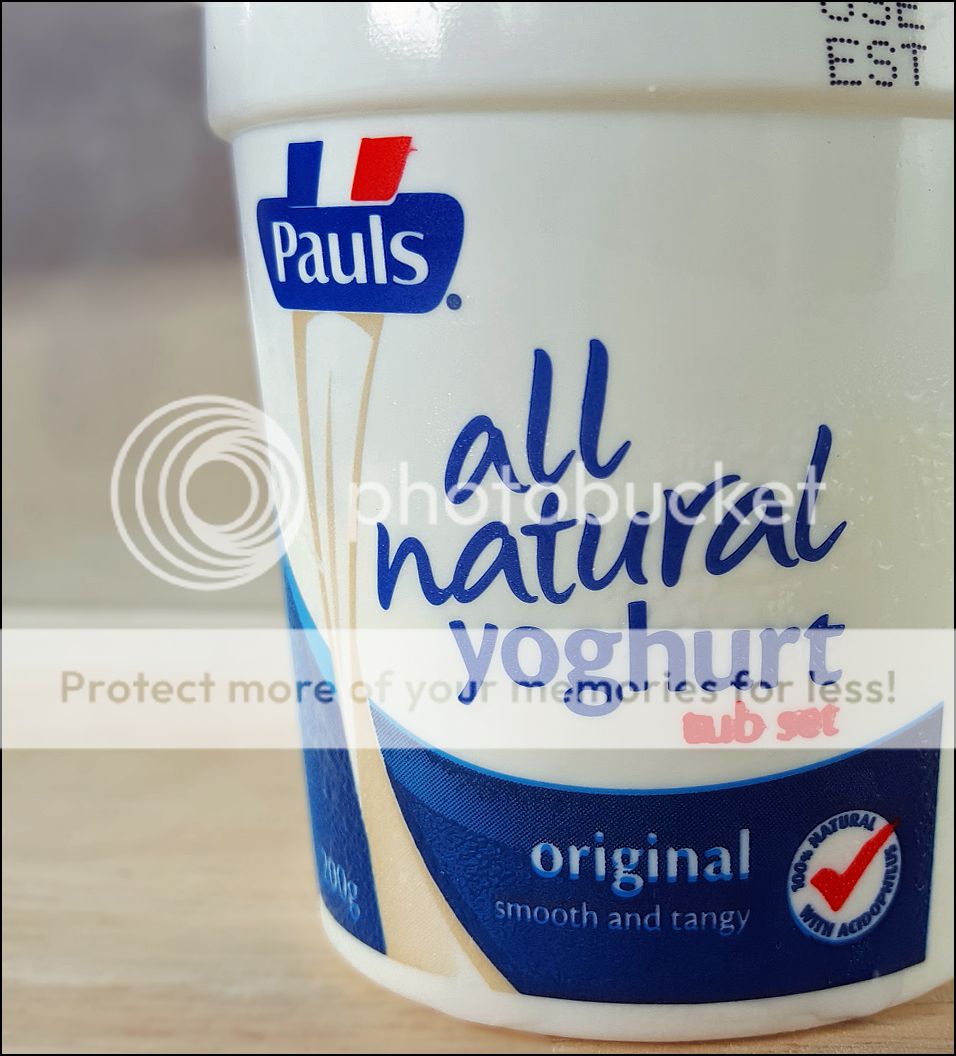
 3)装饰做法:用心形模把饼干切成心形,9 个 3 cm,8 个 2 cm。
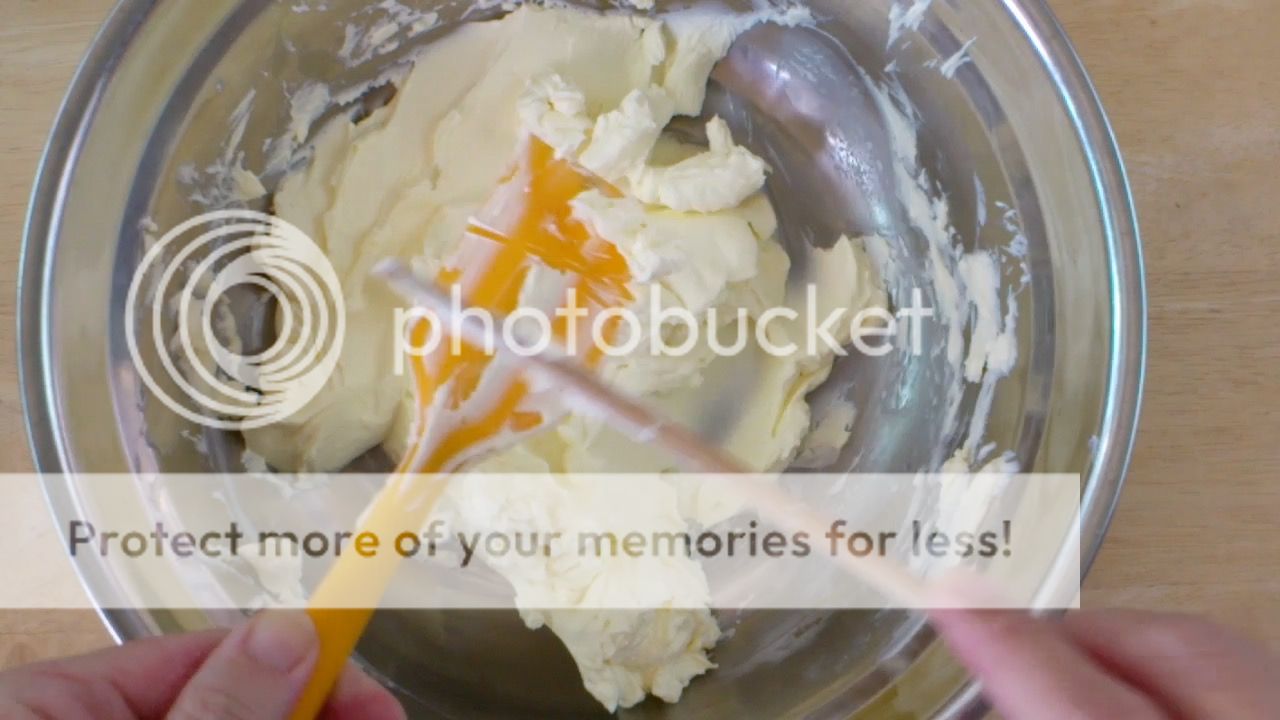 Cream cheese turns watery when it's mixed too much. The change is irreversible.
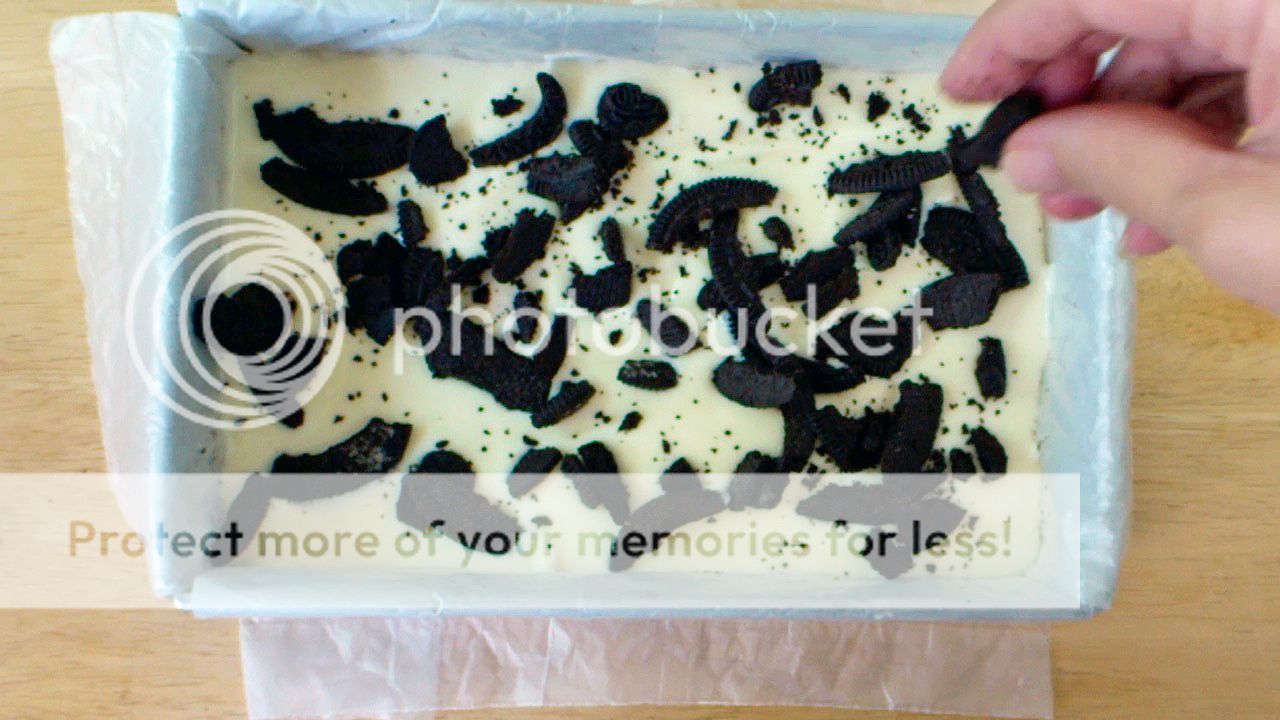 There're broken Oreo pieces in my cheesecake. I scatter the cookies between 3 layers of cream cheese mixture.
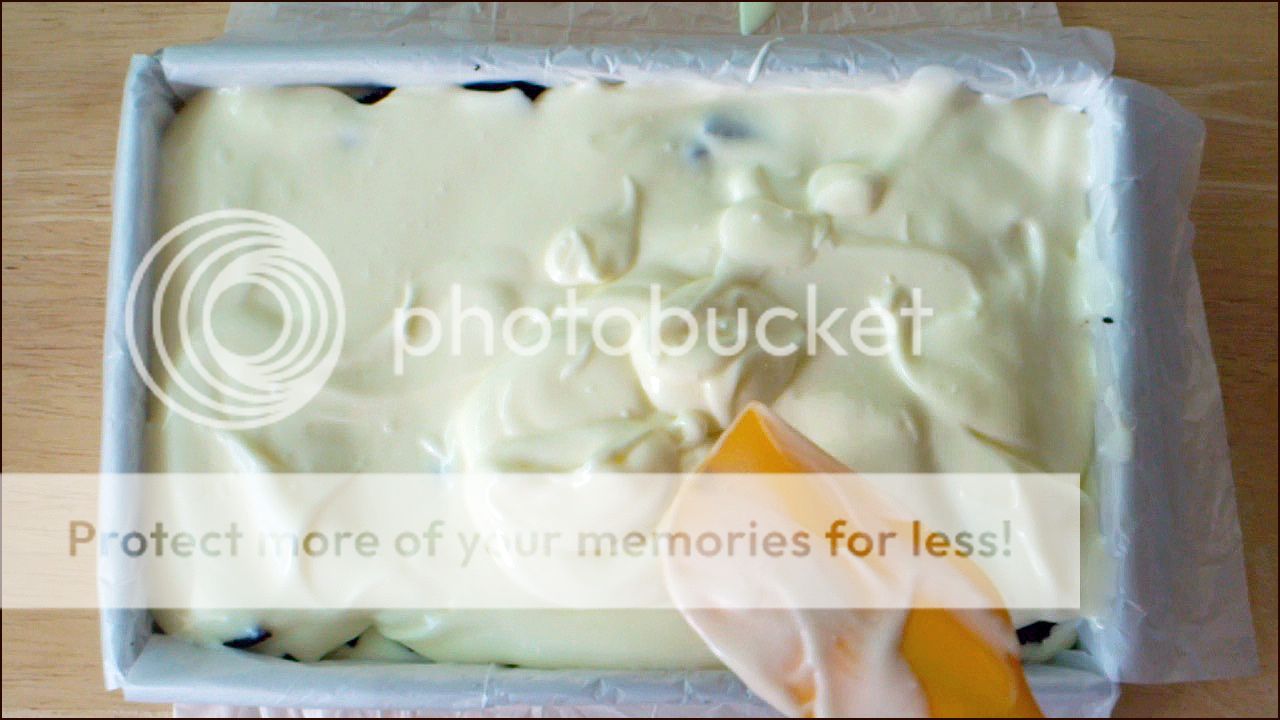 What's the right consistency? If the cream cheese mixture is level – like water – after it's poured, it's too thin. If it isn't level, but it is after you shake it, that's just right.
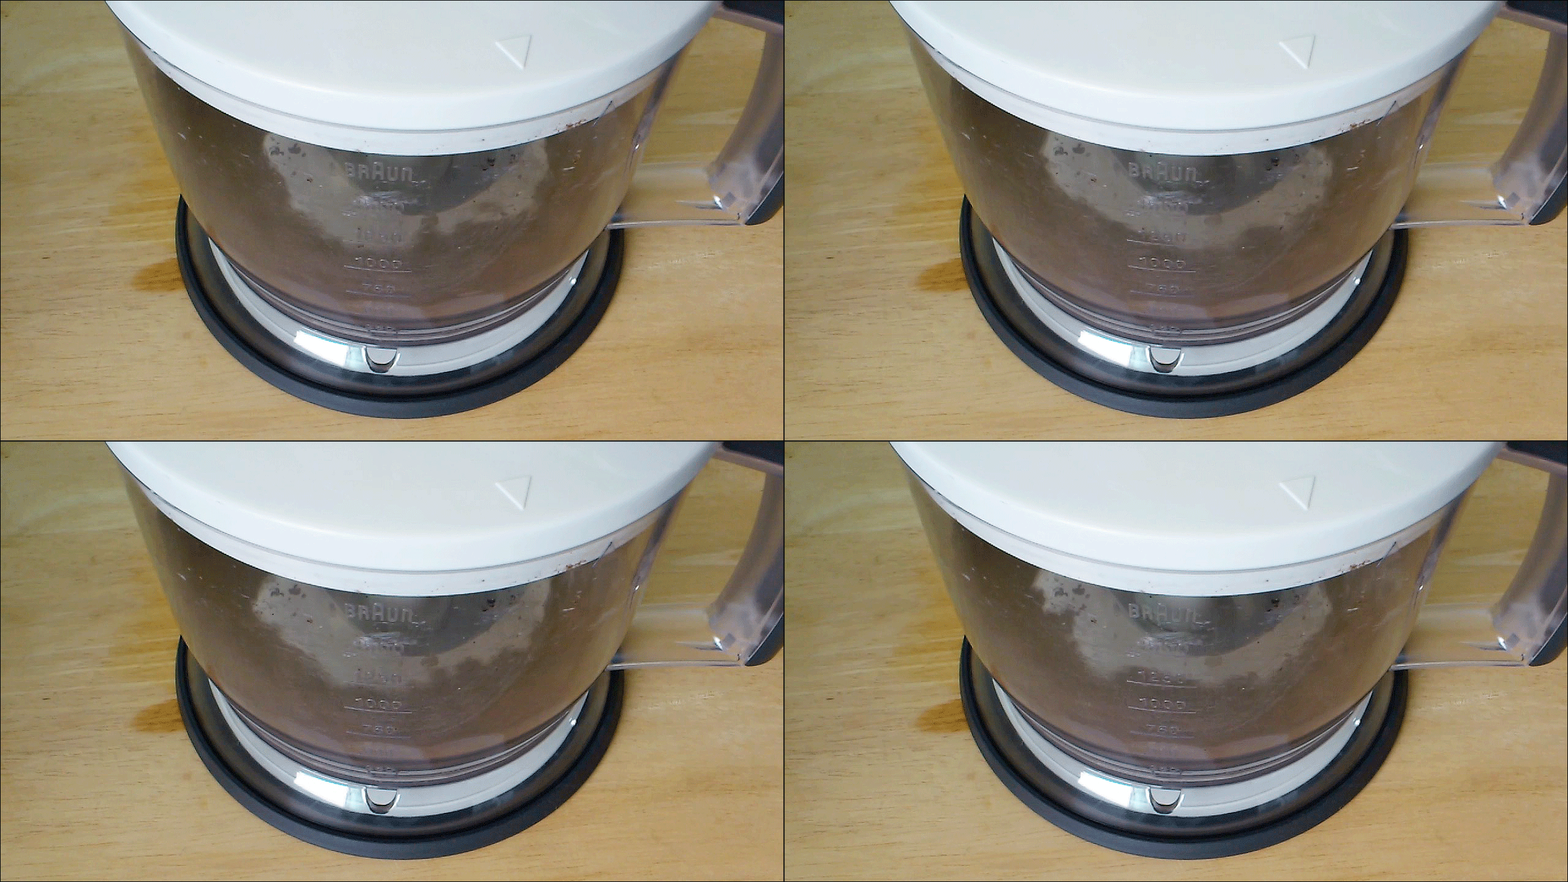 Cheesecake crust is made with cookie crumbs and butter. Some people melt their butter before whizzing it with cookies in a food processor. That's not necessary at all. Food processors can pulverise solid butter in seconds. Melt the butter only if you're crushing and mixing by hand.
 The amount of gelatine powder for replacing 3 gelatine leaves varies with the powder's Bloom number:
 (Recipe for one 8" x 5" x 2" cake)
 8) Pour almost 1/3 of cream cheese mixture into cake pan. Sprinkle with half of cookies. Repeat layering as before. Finish with layer of cream cheese mixture. Bang cake pan against worktop 3-4 times. Cover and refrigerate till filling is set, about 8 hours. Keep chilled till serving time.
 Forget cooking Cantonese porridge the traditional way. That takes way too long.
 Cutting the cooking time from hours to a mere 5 minutes is quite easy.
 Century egg vs blender is rather like pigeon vs WhatsApp. No one sends messages by bird any more. So why would anyone use alkalized eggs instead of a blender?
 Why do I use boiling water? Because it shortens the cooking time.
 Just so we're clear, 5 minutes is the cooking time for plain porridge. It does not include prepping time for meat, etc; or the time for boiling water; or the "breathing time" for century eggs.
 (Recipe for 1 bowl)
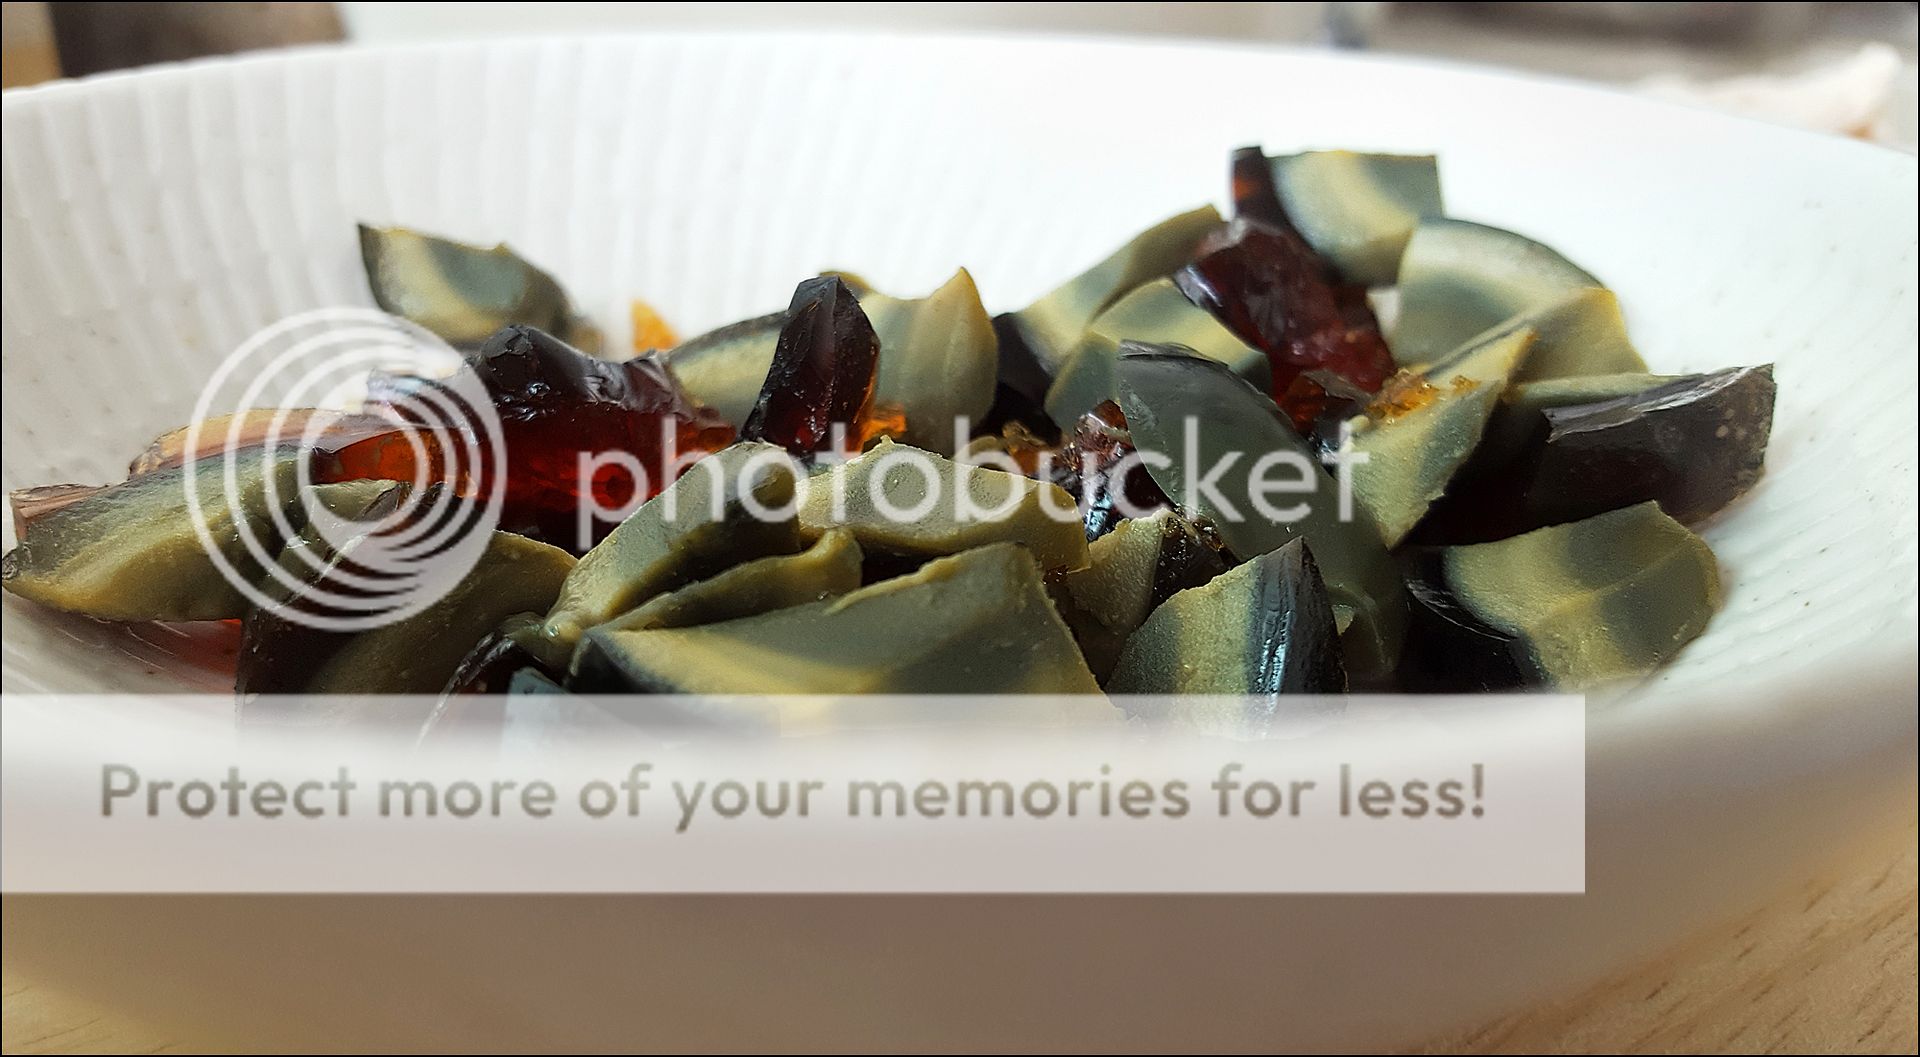 ½ century egg, peeled and rinsed
 Here are 12 FAQ to help you make macarons:
 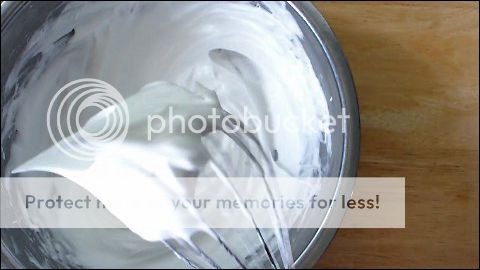 is at stiff peak stage, i.e. the peak is straight, not hooked. It's smooth and glossy, not grainy and matt.
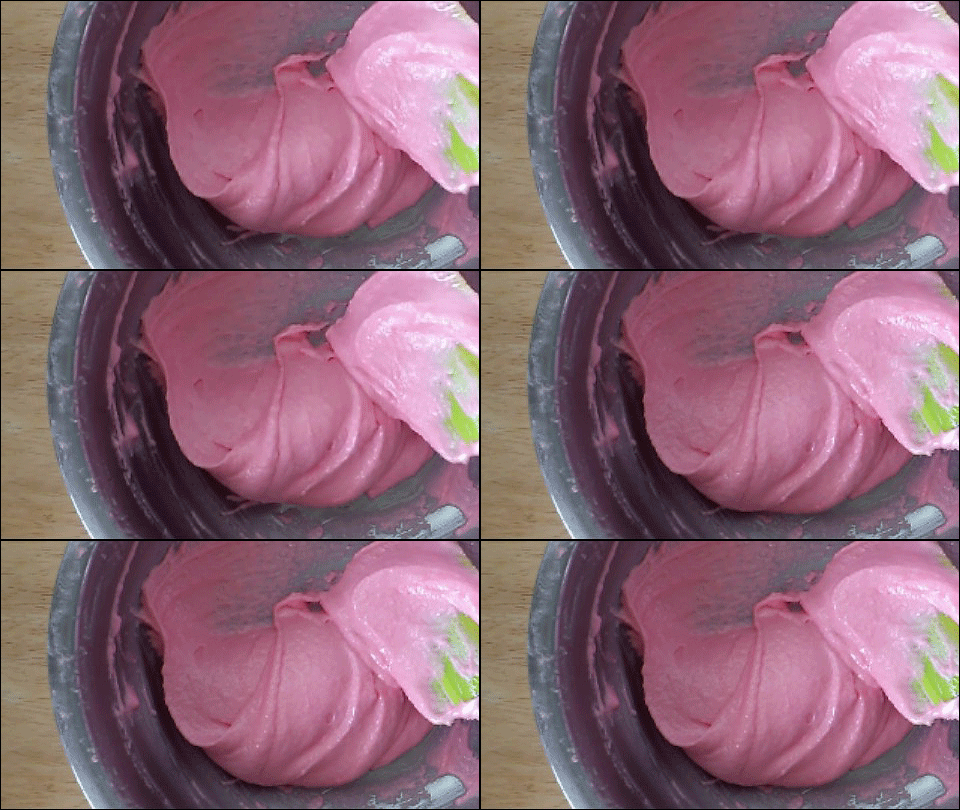 When the batter's texture is smooth, I stop folding every 10-15 folds to drop some batter from about 25 cm high. When the batter doesn't move at all after landing, it's not ready. When it moves ever so slightly, it's almost there. From this point, I stop every 3-5 folds to observe the batter. When it oozes a bit after I stop folding, it's done.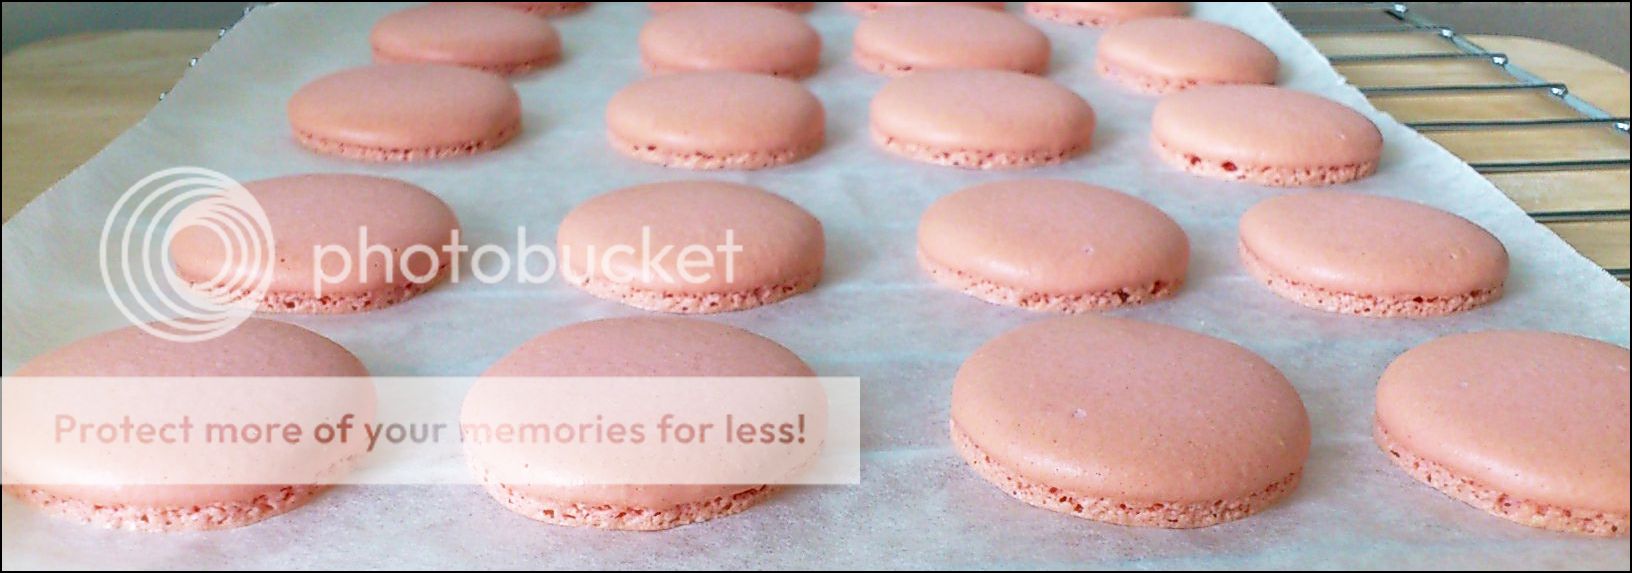
 too much steam is created. Air bubbles that are too big could lead to cracks too.
  9) Why do your macarons blister?
 40 g superfine almond flour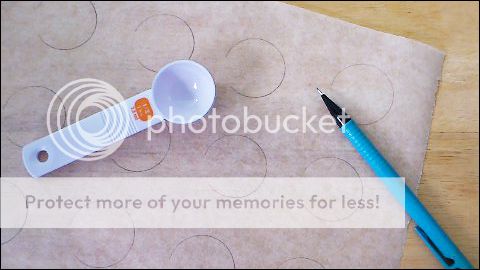
 Add food colouring and fine salt.
 landing, it's almost ready.
 batter isn't sticky when touched lightly, about 30 minutes depending on the weather. (I put the tray in front of a table fan turned on low because Singapore is very humid.)
  Whilst macaron batter is drying, preheat oven to 135°C. When batter is ready, bake on middle shelf of oven for 30 minutes.
 Knock, knock!
  tea powder also helps "lighten" the cake. You know how tea makes food seem less rich? Matcha does that with cake.


 70 g egg whites
 If you double the recipe, use a 13" x 10" pan.


