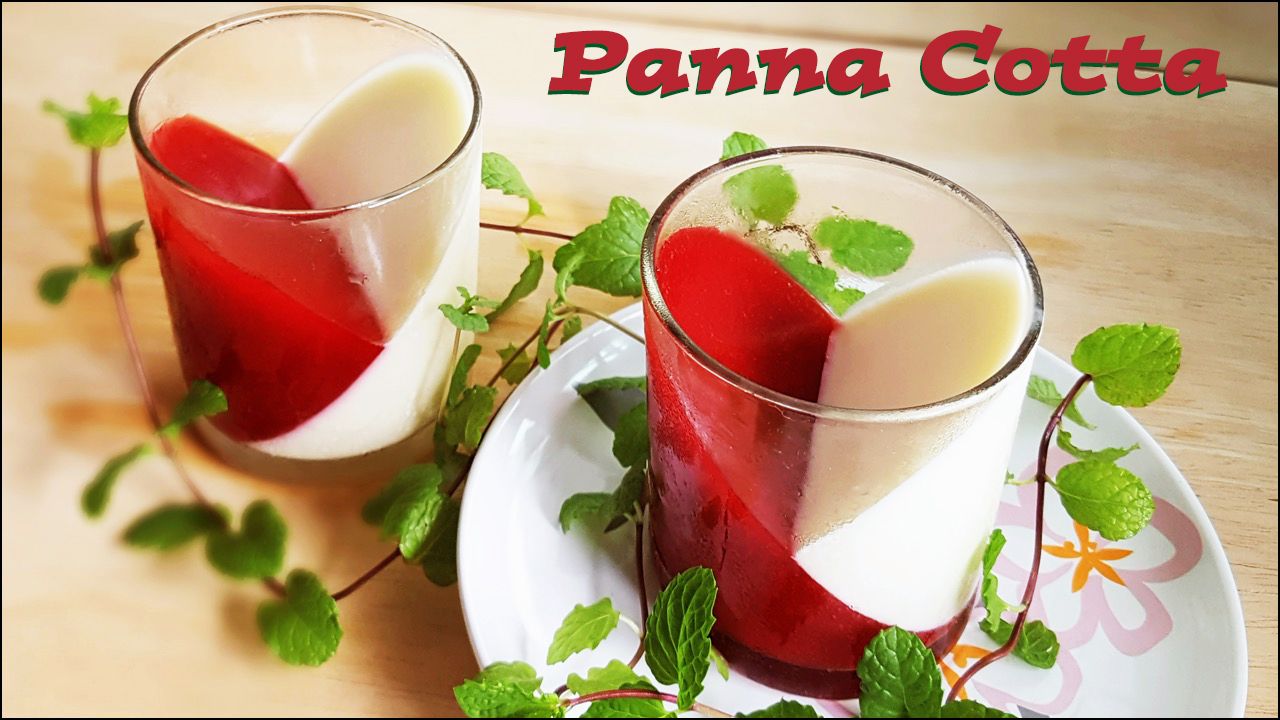
 Panna cotta, at its most basic, is just milk and cream jelly. The jelly may be served as it is, but that'd be quite boring.
How to liven up plain panna cotta?
Make it heart-shaped. Make it in bright colours.
Looking good is half the battle won. Tasting good is the other half.
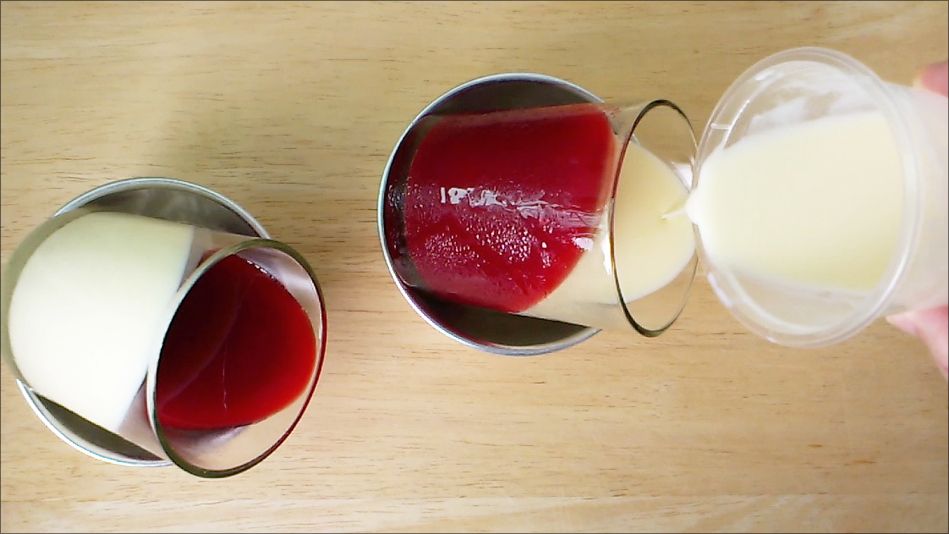 Raspberries work like a charm in panna cotta. They brighten the blandness of milk and cream with a tart fruitiness. In return, the milk and cream tone down the sourness of raspberries. One would be lesser without the other.
Heart-shaped panna cotta is perfect when you want a light dessert. Why? Because the glass looks like it's filled to the brim, but it's actually half empty. There's really not much in there! And 3/4 of what's there is just juice, milk and water.
Here are a few good-to-knows that you might want to know:
1. How much gelatine powder to replace gelatine leaf?
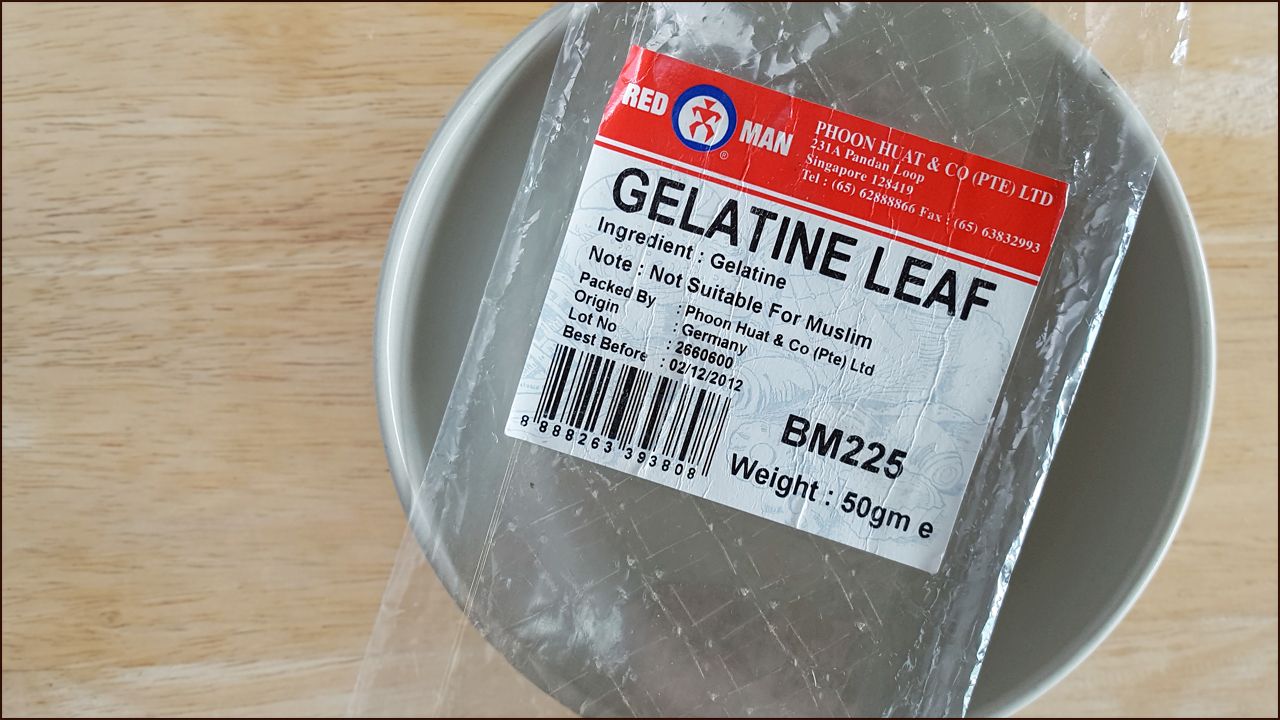
That depends on your gelatin powder's Bloom number. To replace 1 gelatine leaf with gelatine powder, use:
2.5 g or 3/4 tsp for Bloom 160-180
2.0 g or 2/3 tsp for Bloom 190-225
2. What is Bloom number?
All gelatines have a Bloom number to indicate their quality of gel strength, taste and clarity. The higher the number, the better the quality.
2. What is Bloom number?
All gelatines have a Bloom number to indicate their quality of gel strength, taste and clarity. The higher the number, the better the quality.
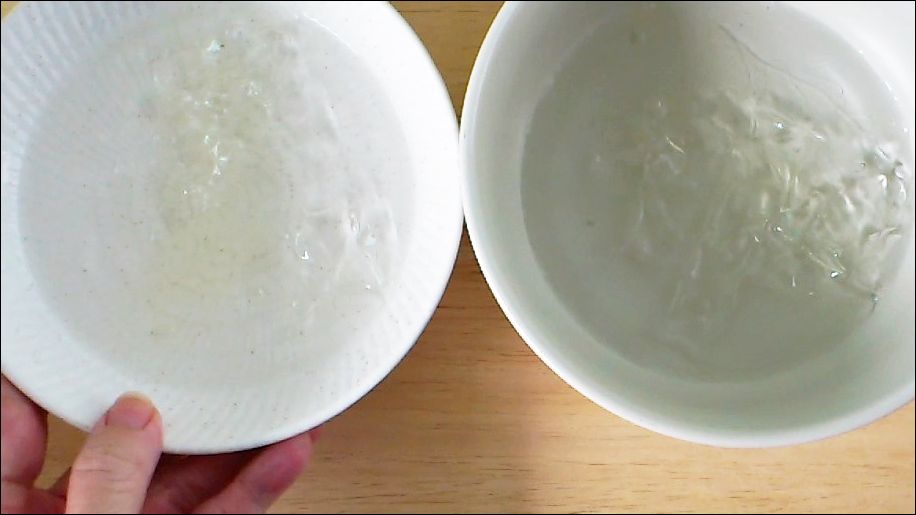 3. How to bloom and melt gelatine powder?
Place the powder in a bowl. Sprinkle with just enough room temperature water to wet it thoroughly. (For 2 g powder, use 6 g water). Place the bowl in a hot water bath, and proceed as in the recipe below.
4. Where can you buy gelatine leaves?
Supermarkets, baking supply shops (Bake King, Phoon Huat, etc), and online (bakeking.com.sg, amazon.com, taobao.com, parknshop.com, sainsburys.co.uk, etc).
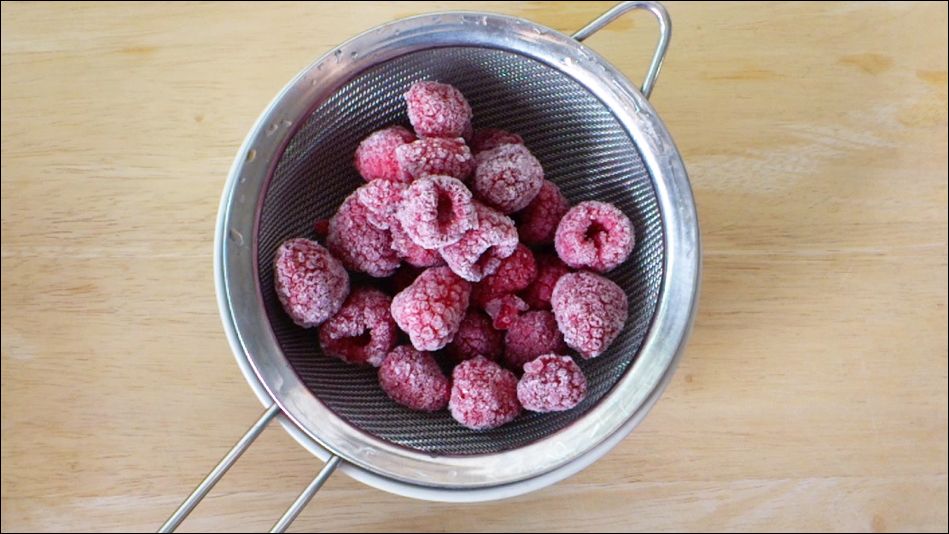 5. Why do I use frozen instead of fresh raspberries?
Because they're much cheaper than fresh raspberries. The 1 kg pack I buy is S$13.70 (about US$10). Fresh ones are S$6.50 for 170 g.
6. Can you use fresh raspberries instead?
Sure. But you can't mash fresh raspberries with a spatula.
7. What can you use instead of raspberries?
It's a free world. Please feel free to use whatever you like.
8. Can you use water instead of milk? Milk instead of water? Milk instead of cream? "Something" instead of milk? Whole milk instead of full-fat milk? "Normal milk" instead of full-fat milk? Etc instead of etc?
Please refer to point #7.
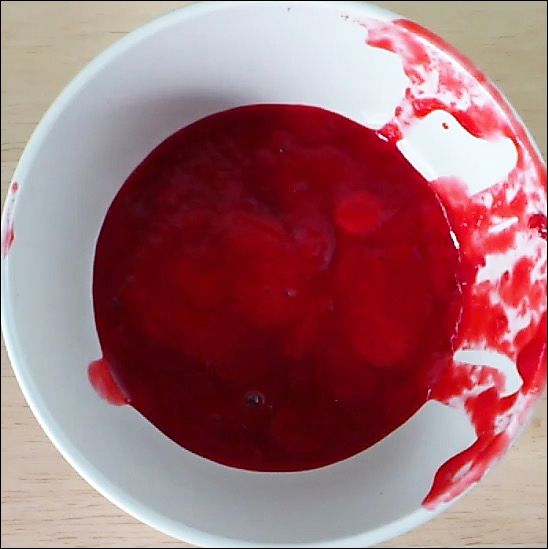 RASPBERRY PANNA COTTA RASPBERRY PANNA COTTA(Recipe for 2 persons) Cream jelly 1 gelatine leaf, soak in ice water till soft 1/2 tbsp sugar 80 g full-fat milk, room temperature 80 g dairy cream with 35% fat, cold 1 gelatine leaf, soak in ice water till soft 1 tbsp sugar 60 g water, room temperature 140 g frozen raspberries thaw, mash and sieve to yield 100 g juice 1. To make cream jelly, squeeze gelatine leaf to remove excess water. 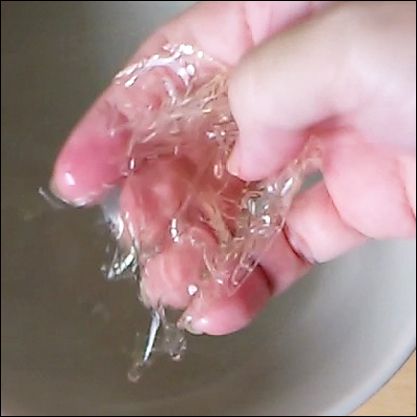 Place in bowl. Place bowl in hot water bath. Add 1/2 tbsp sugar. Stir till gelatine and sugar dissolve. Add half of milk. Stir thoroughly. Add remaining milk. Stir thoroughly. Remove bowl from water bath. Add cream. Stir thorougly. Taste and add more sugar if necessary. Place in bowl. Place bowl in hot water bath. Add 1/2 tbsp sugar. Stir till gelatine and sugar dissolve. Add half of milk. Stir thoroughly. Add remaining milk. Stir thoroughly. Remove bowl from water bath. Add cream. Stir thorougly. Taste and add more sugar if necessary.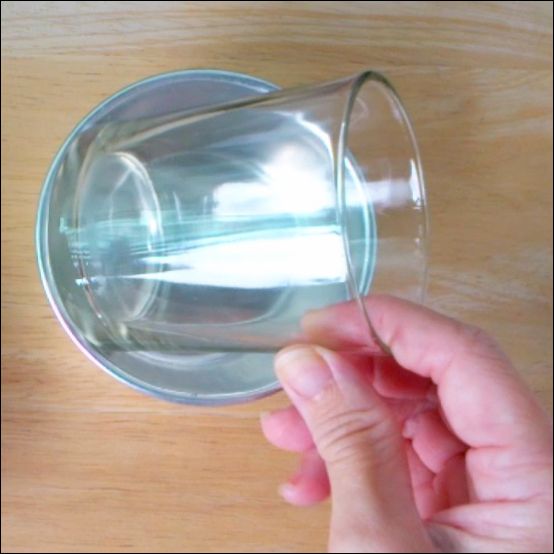 3. To assemble, rest two 8 x 7 cm glasses at 45º angle. Fill 1 glass with cream jelly. Fill other glass with raspberry jelly. Refrigerate both glasses till jelly is set, about 2 hours. 3. To assemble, rest two 8 x 7 cm glasses at 45º angle. Fill 1 glass with cream jelly. Fill other glass with raspberry jelly. Refrigerate both glasses till jelly is set, about 2 hours.4. Leave remaining jelly at room temperature for 1 hour, then refrigerate to chill but not set. 5. When jelly in glasses is set, turn glasses 180º vertically. Fill cream jelly glass with remaining raspberry belly. Fill raspberry jelly glass with remaining cream jelly. Refrigerate till set, about 1 hour. Turn glasses upright. Cover. Refrigerate till ready to serve. |

 If you've never made Swiss roll before, or never made one successfully, please don't try my chocolate Swiss roll recipe.
 The cake is perfectly done when it just turns springy in the middle. After it's cooled down, the crust should be a bit sticky around the edges. That's OK because the ends will be trimmed, or tucked inside/below after the cake is rolled.
 cake. Why? Because the crust doesn't really stick to the crumb, so it comes off very easily. The loose crust is caused by cocoa powder which, as I said, complicates things.
 be oval instead of round after rolling.
  pan size. You don't want too little or too much batter in the pan.


 If you double the recipe, you need a pan that's 18"x 12".
  15 g castor sugar. Whisk thoroughly. Add water. Whisk till thick paste forms. Add salt, vanilla extract and egg yolks. Whisk till sugar dissolves. Sift half of cake flour into mixture. Mix with whisk till even. Sift remaining cake flour into mixture. Mix with whisk till even.
  Loosen egg yolk mixture from bottom of mixing bowl with whisk. Add egg whites in 2 batches. Mix with whisk after each addition till batter looks even. Scrape down and fold with spatula till batter is truly even.
  7. To assemble Swiss roll, place cake on clean parchment paper, face down. Peel parchment paper from bottom of cake. Spread evenly with whipped cream. Roll cake as shown in video. Do not remove parchment paper till cake is transferred to serving plate (so that cake may be moved easily without touching the crust).
 There're a few common problems with making Swiss rolls: (1) The cake is hard and dry. (2) The crust sticks to the paper the cake is wrapped in. (3) The crust cracks when you roll the cake.
 Water doesn't help make a sheet cake moist. Why? Because the cake is so thin, H2O in the batter evaporates very quickly. It's gotta be fat that keeps the cake moist.
  likely to crack. This (the rolling, not telling) is done after placing the cake on a piece of parchment paper, and then dusting the crust with icing sugar.
 I let my sheet cake cool down on a wire rack after it's baked, without rolling or covering it.
 Some people wrap their Swiss roll, after rolling, to set the shape. If you want to do that, I suggest you use a tea towel. Parchment paper, if tightly wrapped around the cake for a few hours, will stick to the crust.
  40 g cake flour
 This recipe is double the pygmy-sized (10" x 7") cake in the video.
 2. Whisk egg whites on medium-slow speed till thick foam forms. Gradually add castor sugar whilst continuing to whisk. Keep whisking till egg whites are at soft peak stage. Reduce speed to slow and continue to whisk till firm peak stage (when whisk is lifted, egg whites form peak that's hooked).
 What's magical about magic custard cake?
 The top of magic custard cake is a layer of fluffy cake. The bottom is a layer of starch which eats like
  kueh, custard and cake fall out of the sky. You have to roll up your sleeves and make magic custard cake using the separated egg method.
  1) The starch in the flour separates from the protein and, because it's dense, sinks to the bottom of the pan. There, it forms a layer that eats like kueh.
 As usual, follow my recipe if you want to bake the cake I bake. Don't be alarmed when your whisked egg whites become a bit grainy. That's the way it's supposed to be.
 Mind you, it's not a good thing either if the cake layer rises a lot and becomes very thick. That's a sign it's going to be too wet.
  85 g unsalted butter, melted and cool
 whites form peak that's straight, not hooked – and a bit grainy. Add to yolk mixture. Mix with whisk till fully combined. Scrape down with spatula and mix till even.
 Most recipes for banana cake have about 1 part banana to 1 part flour. Some may go up to 2:1. Mine has 175 g bananas to 70 g flour, so the ratio is 2.5:1.
 By making the cake rise, so it's not dense. And making the cake dry out, so it's not too wet.
  still be wet when the top is brown. Mashed bananas dry out slowly, so the cake must be baked longer, at a lowish temperature. If the cake is too wet when it's removed from the oven, it'll shrink as it cools down or after it's unmoulded.
 A fluffy cake is fluffy because its structure is weak. To stop the structure from collapsing when it's at its weakest – just after the cake is removed from the oven – it must cling to the sides and bottom of the cake pan. The pan, therefore, mustn't be non-stick and it must be inverted once it's removed from the oven. A funnel in the middle gives the cake more surface area to cling to.
  Banana cake is best served without frosting, so there's nothing to mask the flavour of the bananas.
 70 g cake flour
 incorporated. Sift cake flour, baking soda and baking powder into mixture. Add salt. Mix with whisk till just even.
  rotating pan as you pour so that batter is spread evenly. Jiggle pan till batter is level. Bake in bottom of oven for about 1 hour, till cake is well browned and, when pressed lightly, springs back and squishes softly. (Loud squishing means the cake is still too wet.) Remove cake from oven. Invert onto something narrow and tall, e.g. jam jar or inverted glass. Leave till cool. Cut cake out of pan. Serve.